
Installing a home security system can be a rewarding DIY project that not only provides a sense of accomplishment but also an added layer of protection for your home and family.
With the rise of wireless technology, setting up a security system has become more user-friendly, allowing homeowners to flex their DIY muscles. This guide will walk you through the process, drawing from personal experience and industry best practices.
Preparing for Installation
Before diving into the installation process, it’s crucial to select the right system for your home.
Wireless systems are the go-to choice for most DIY enthusiasts due to their ease of installation and flexibility.
The cost can vary widely, starting from around $200 and can go up to $2,000, depending on the complexity and number of components. Remember to consider any additional monthly fees for live monitoring services, which can range from $10 to $50.
Choosing the Right System
When selecting a security system, consider the size of your home and the level of protection you desire. A basic kit usually includes a few door and window sensors, a motion detector, and a hub or base station. If you’re looking to cover a larger area or require advanced features like smoke detection, be prepared for a higher price tag.
It’s a balance between your security needs and your budget. Integrating smart home security offers the added benefit of real-time alerts and remote system management, enhancing your home’s safety and your peace of mind. It’s a balance between your security needs and your budget.
Assessing Your Home’s Layout
Understanding your home’s layout is essential for optimal sensor placement. Sketch a quick floor plan and note potential entry points that need monitoring. This will help you determine the number of sensors you’ll need and where to place them for maximum effectiveness. Don’t overlook areas like the basement or second-floor windows, which can be vulnerable to intrusion.
Tools Required:
- A versatile 4-in-1 screwdriver
- A comprehensive set of drill bits
- A reliable cordless drill
- A sturdy hammer
- A robust pry bar
- A sharp wire cutter
Supplies Needed:
- A complete wireless home security system kit
- An assortment of screws
- Strong double-sided adhesive tape
Easy 6 Step Guide
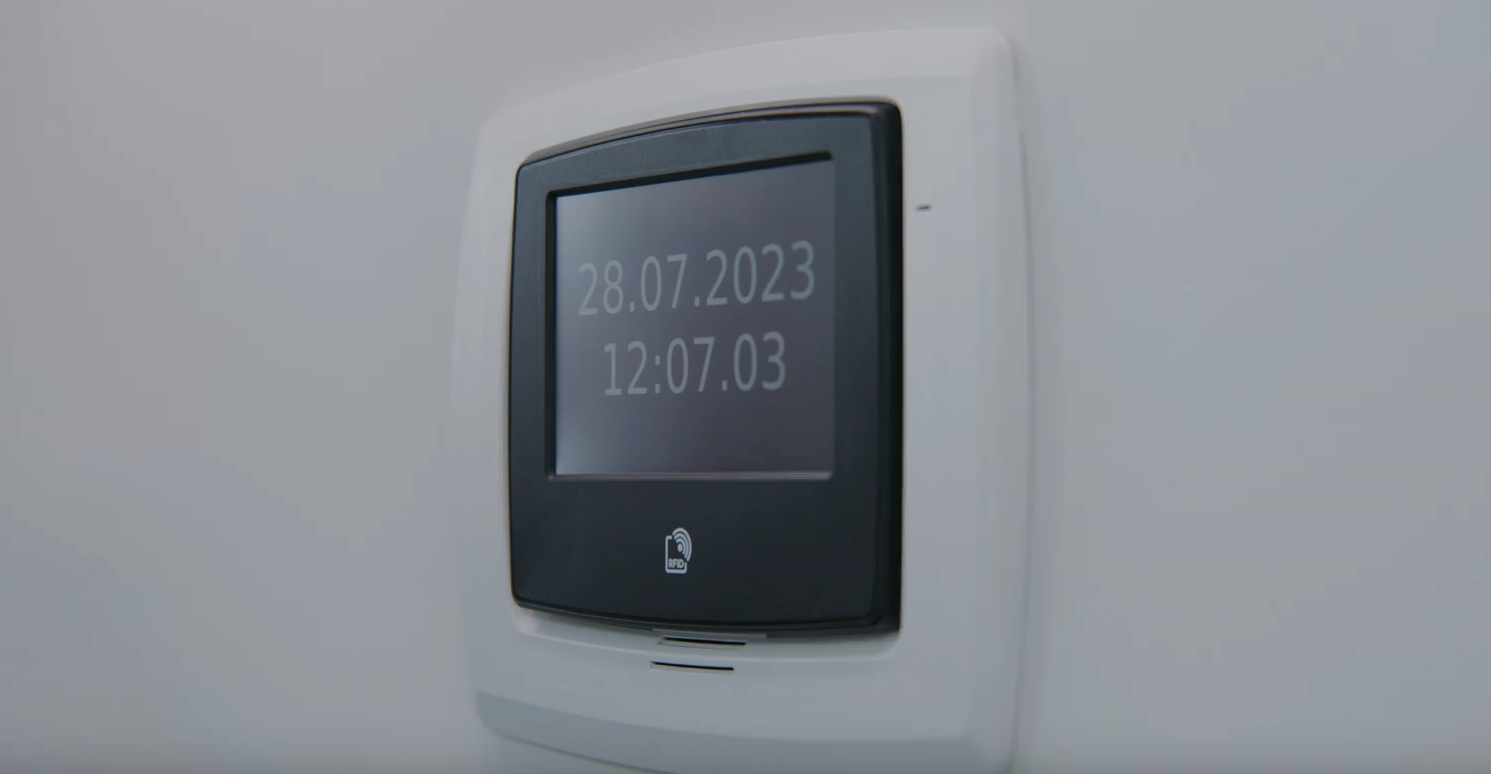
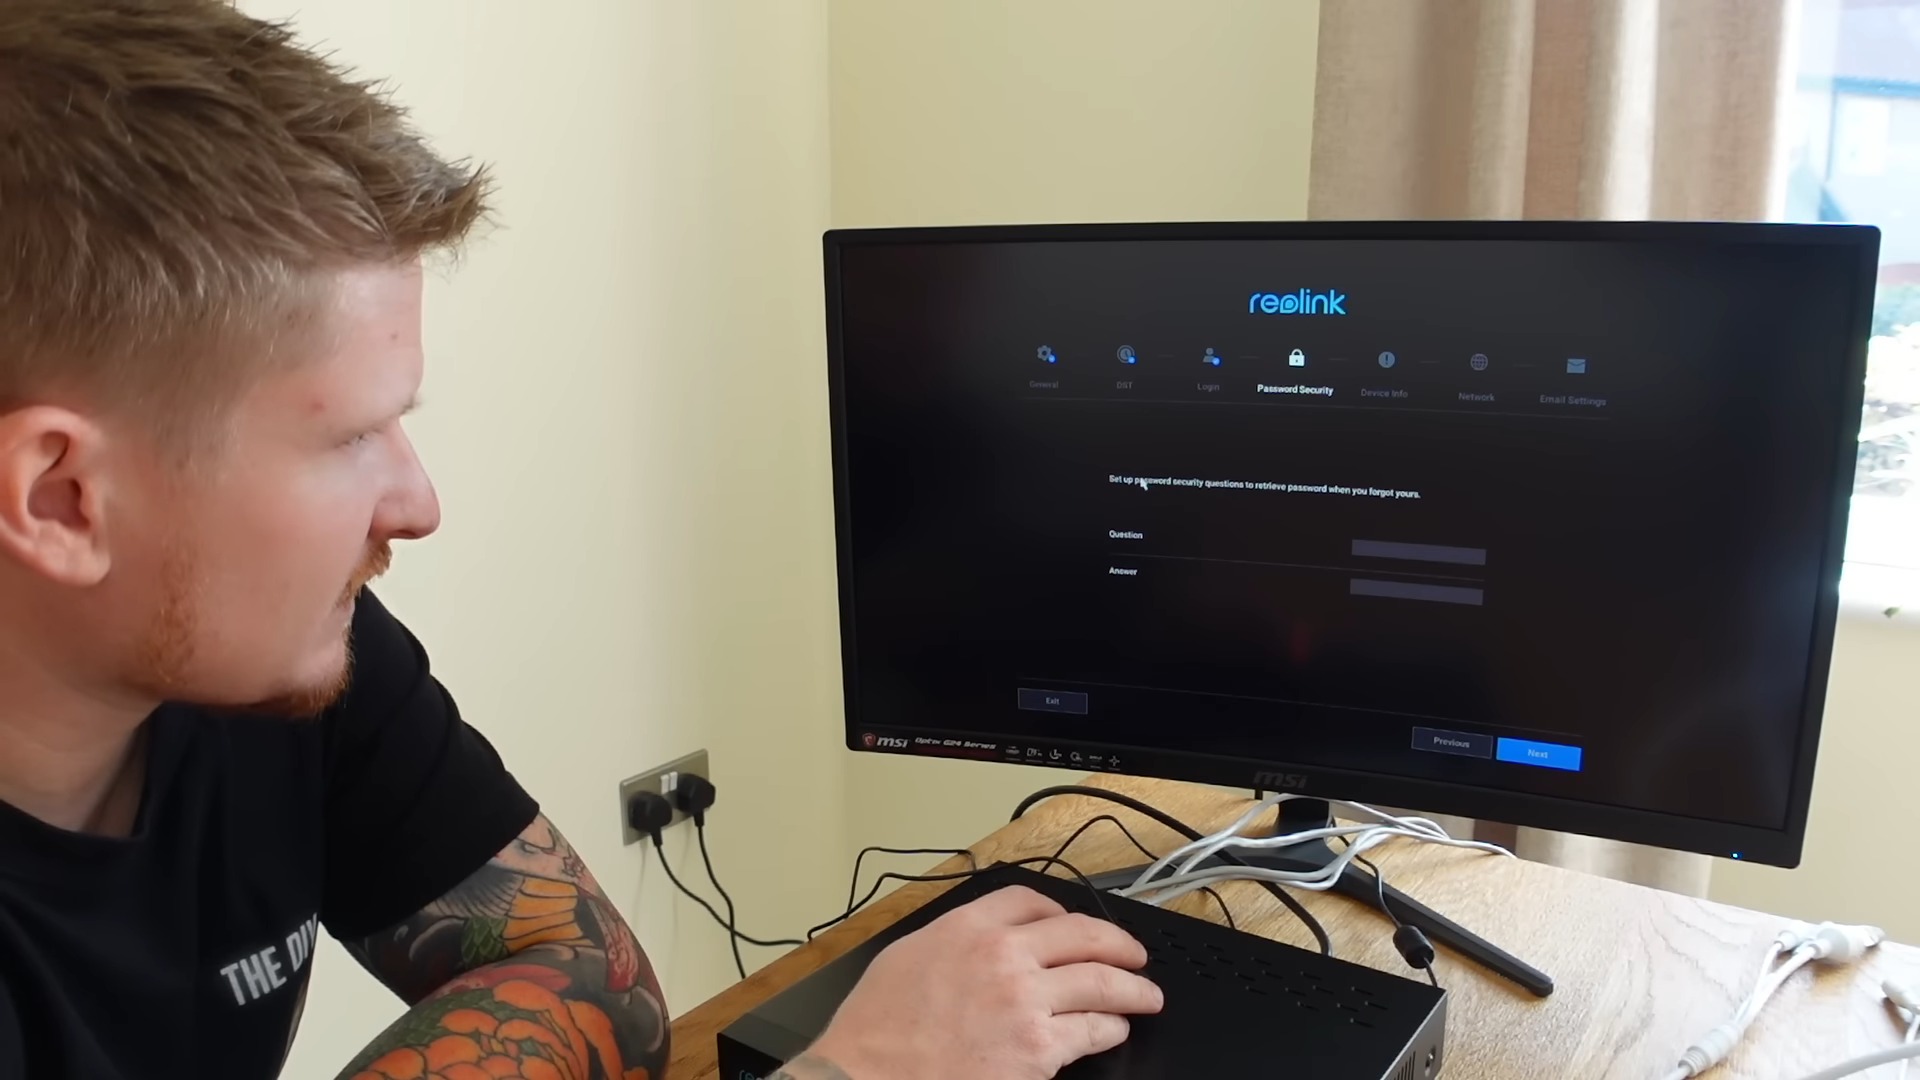
1. Installing the Base Station
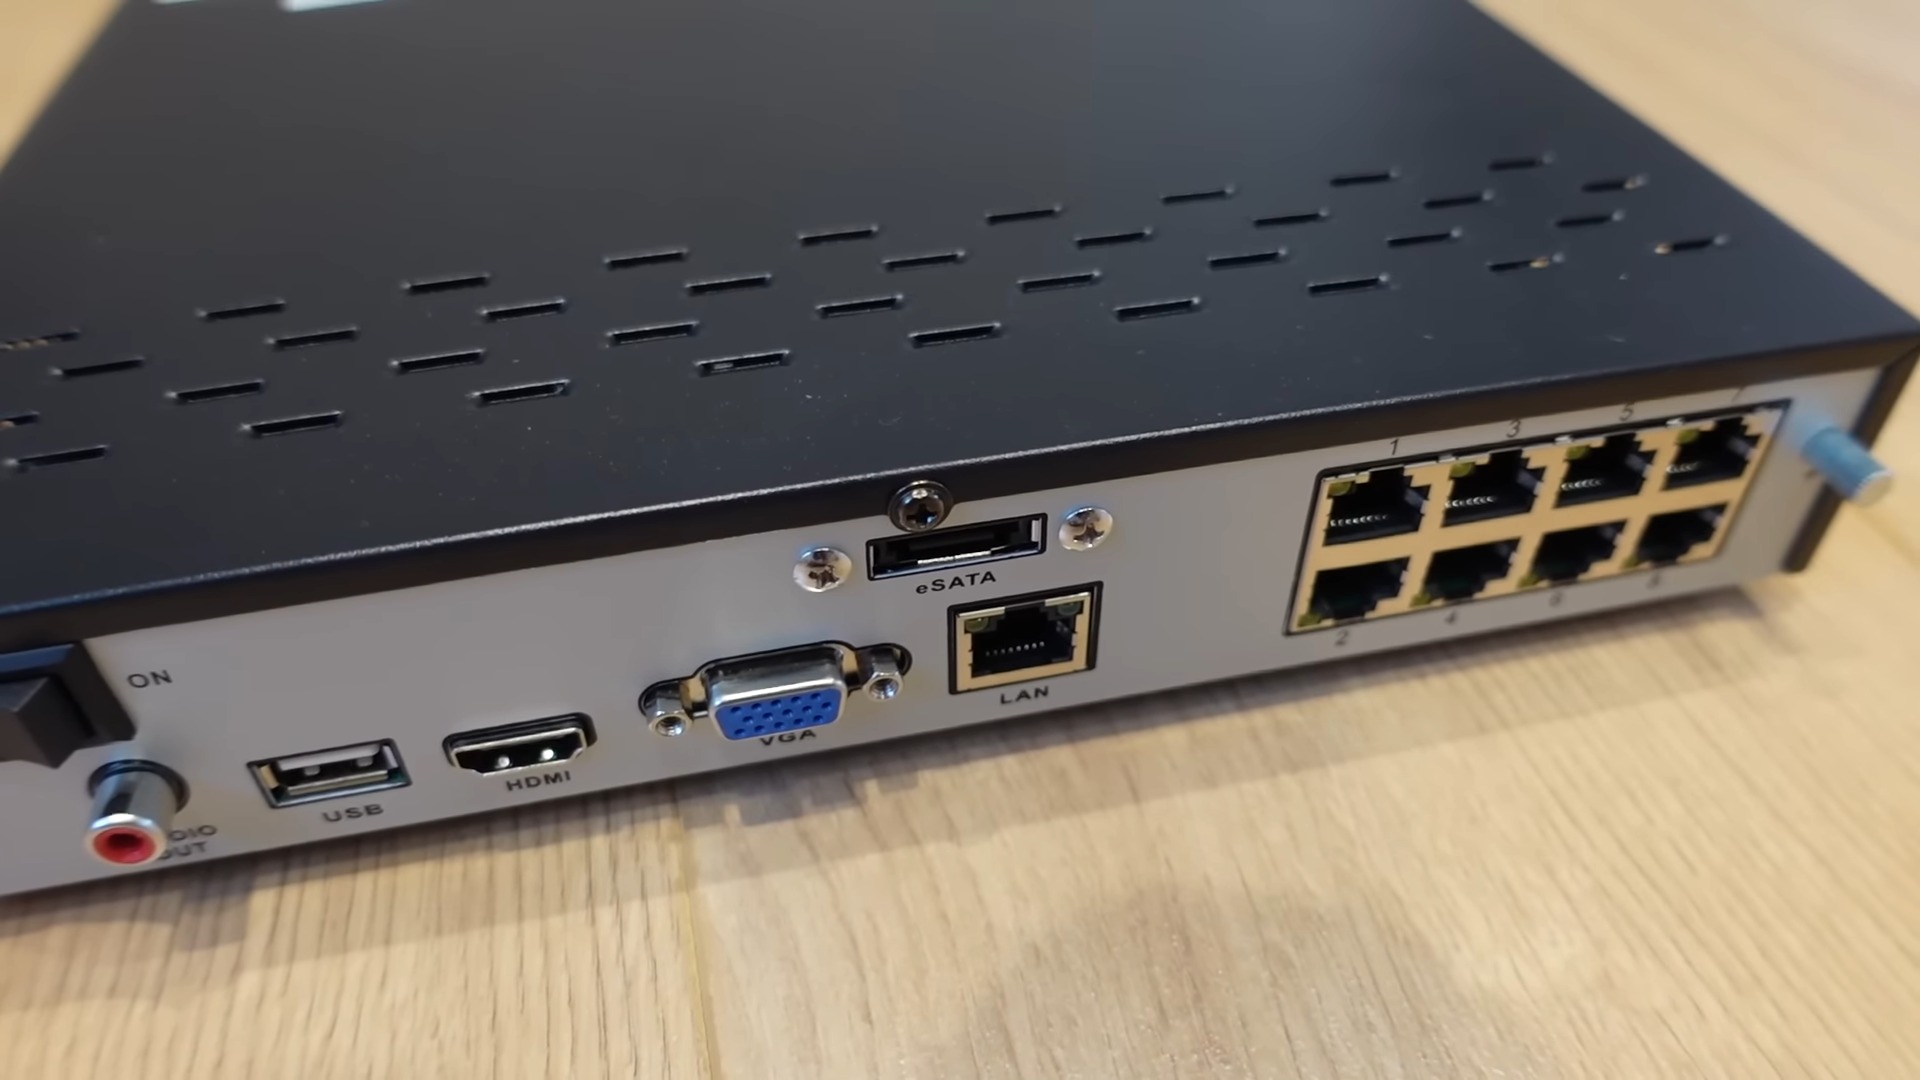
The base station is the brain of your security system. It should be placed in a central location, ideally near your primary entryway for easy access. Make sure it’s close to a power outlet and, if necessary, your internet router for a stable connection.
Finding the Perfect Spot
The location of your base station can affect the performance of your entire system. It needs to be close enough to all the sensors to maintain a strong wireless connection. If your system requires an Ethernet connection, proximity to your router is crucial. A central location also ensures that the alarm is audible throughout your home.
Securing the Base Station
Most base stations are designed for easy installation. If you’re averse to drilling holes, adhesive strips are a great alternative for mounting your station. Just make sure the surface is clean and dry for the adhesive to stick properly. For those who prefer a more permanent solution, mounting screws are typically provided.
2. Door and Window Sensors
Door and window sensors are your first line of defense. They detect when an entry point has been breached and should be placed on all exterior doors and windows, especially those hidden from street view.
Placement and Pairing
Before permanently affixing the sensors, pair them with the base station and test to ensure they’re functioning correctly. The sensors come in two parts: one attaches to the door or window, and the other to the frame. They should be aligned so that when the door or window is closed, the two parts are adjacent to each other.
Installation Tips
For wooden frames, use screws for a secure fit. If you’re dealing with metal surfaces, the built-in magnets will suffice, but reinforcing with screws is advisable to prevent them from dislodging. Always check the alignment after installation to ensure the sensors communicate effectively with the base station.
3. Motion Sensors
Motion sensors add an extra layer of security by detecting movement within your home. They are particularly useful in large open spaces and hallways.
Strategic Sensor Placement
The ideal height for a motion sensor is between 6 to 8 feet. Placing them in the corners of rooms allows for a broad field of view. Avoid positioning sensors near heat sources or windows, as changes in temperature and movement outside can cause false alarms.
Securing the Sensors
Most motion sensors can be mounted with a single screw or adhesive strip. If you’re using screws, make sure not to overtighten, as this can damage the sensor. With adhesive strips, apply pressure for at least 30 seconds to ensure a strong bond.
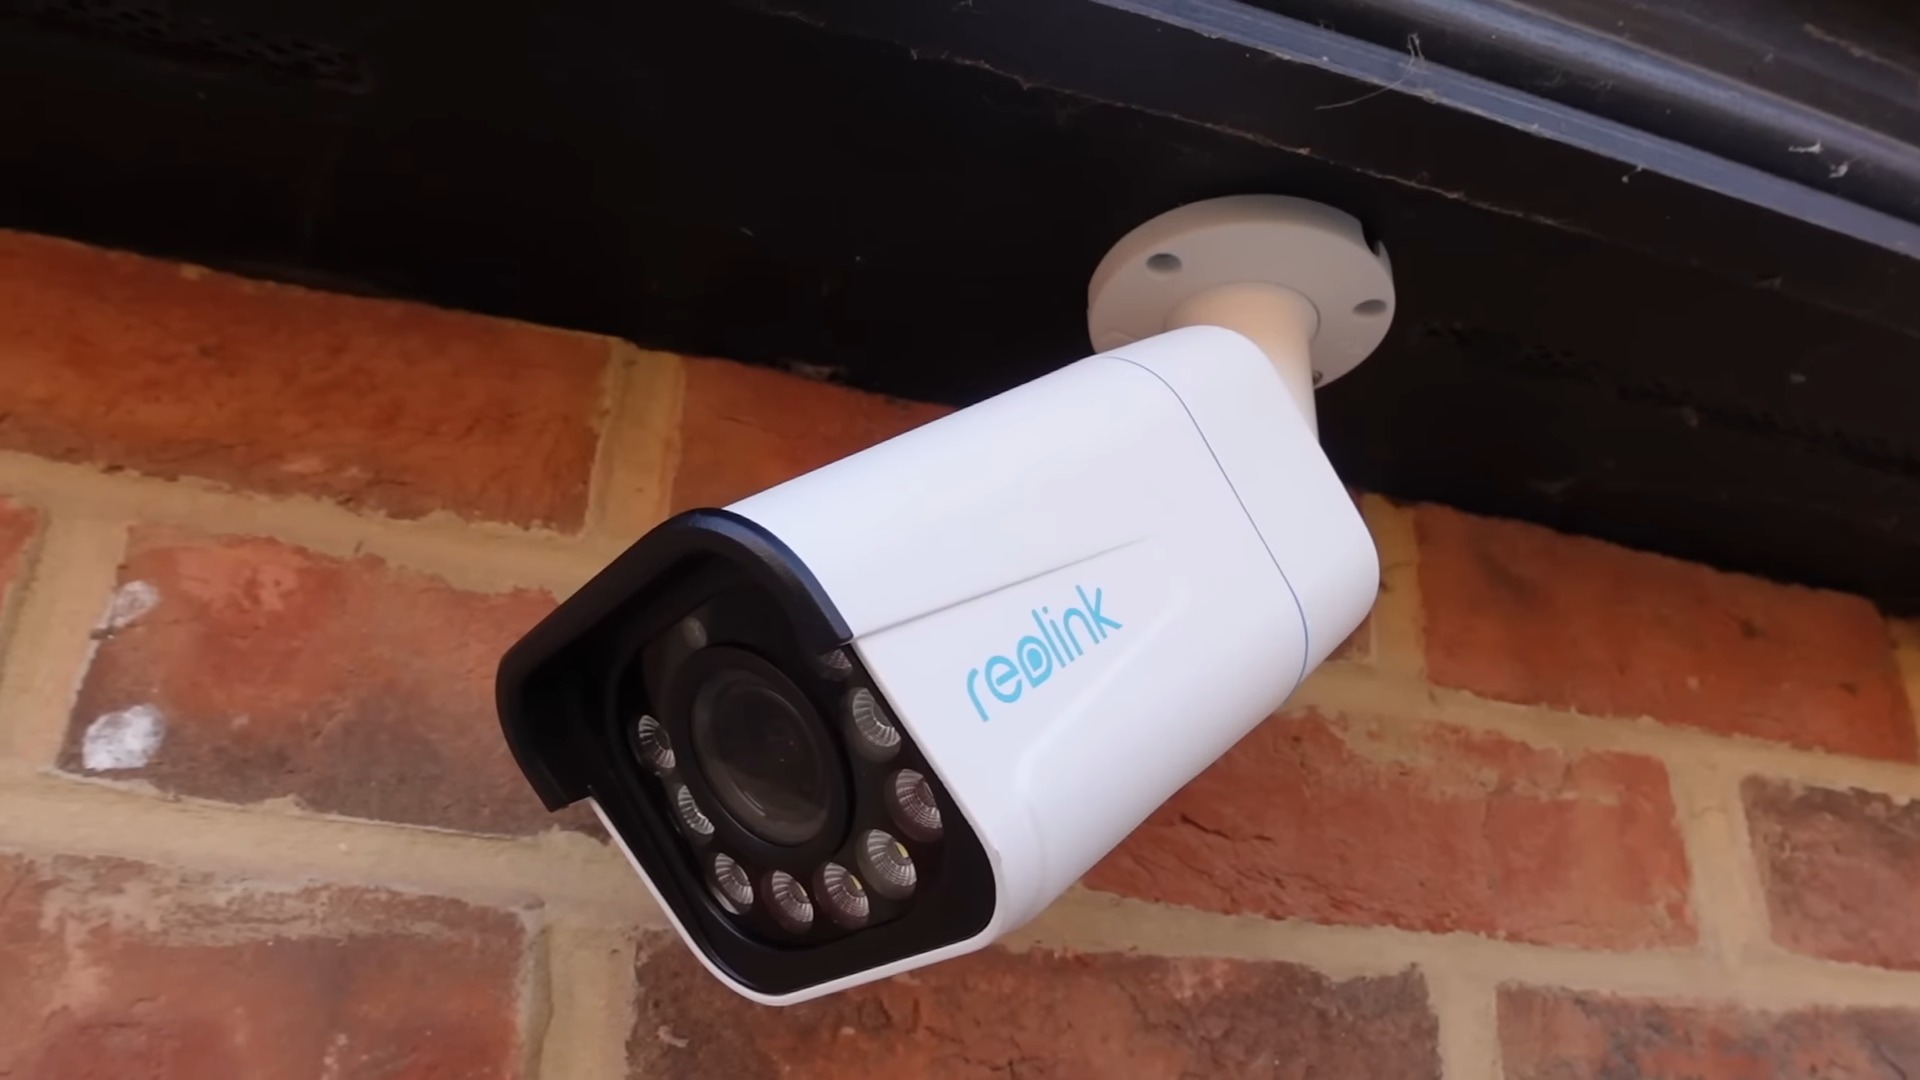
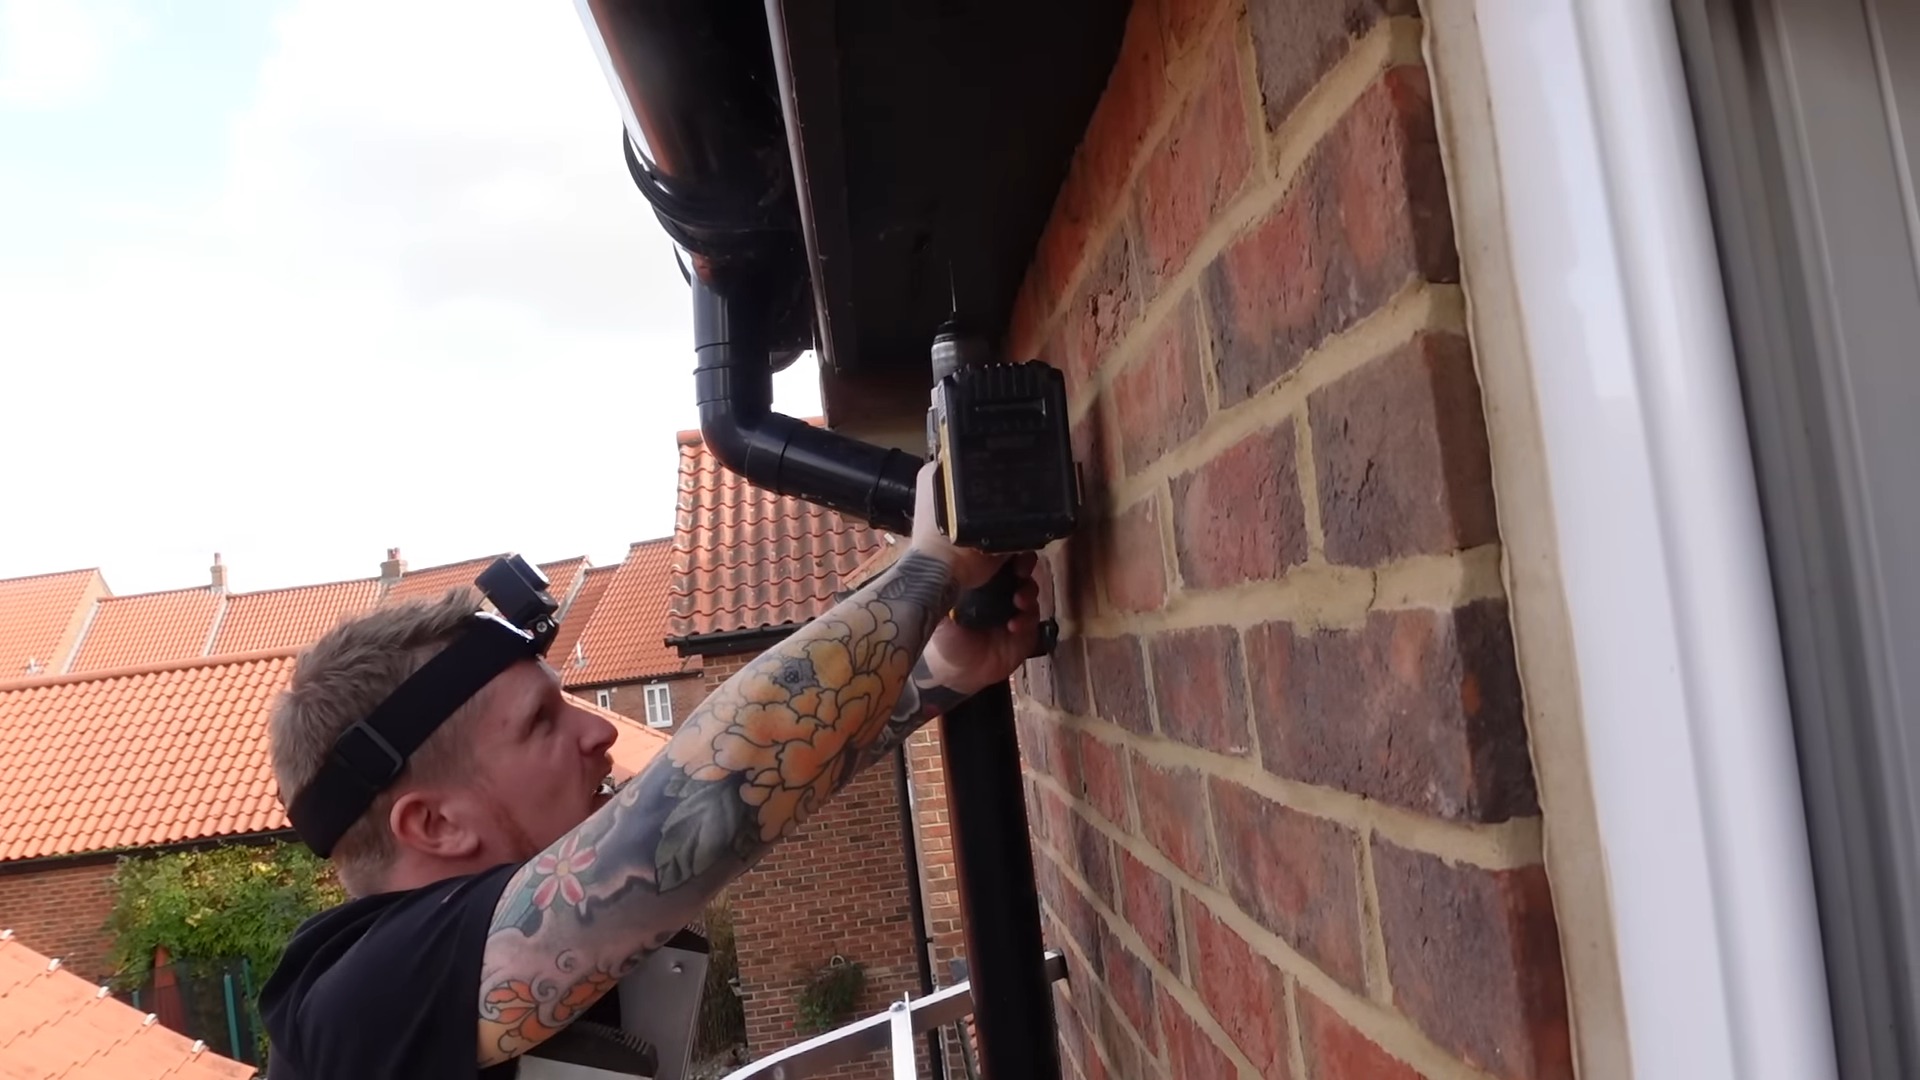
4. Positioning the Cameras
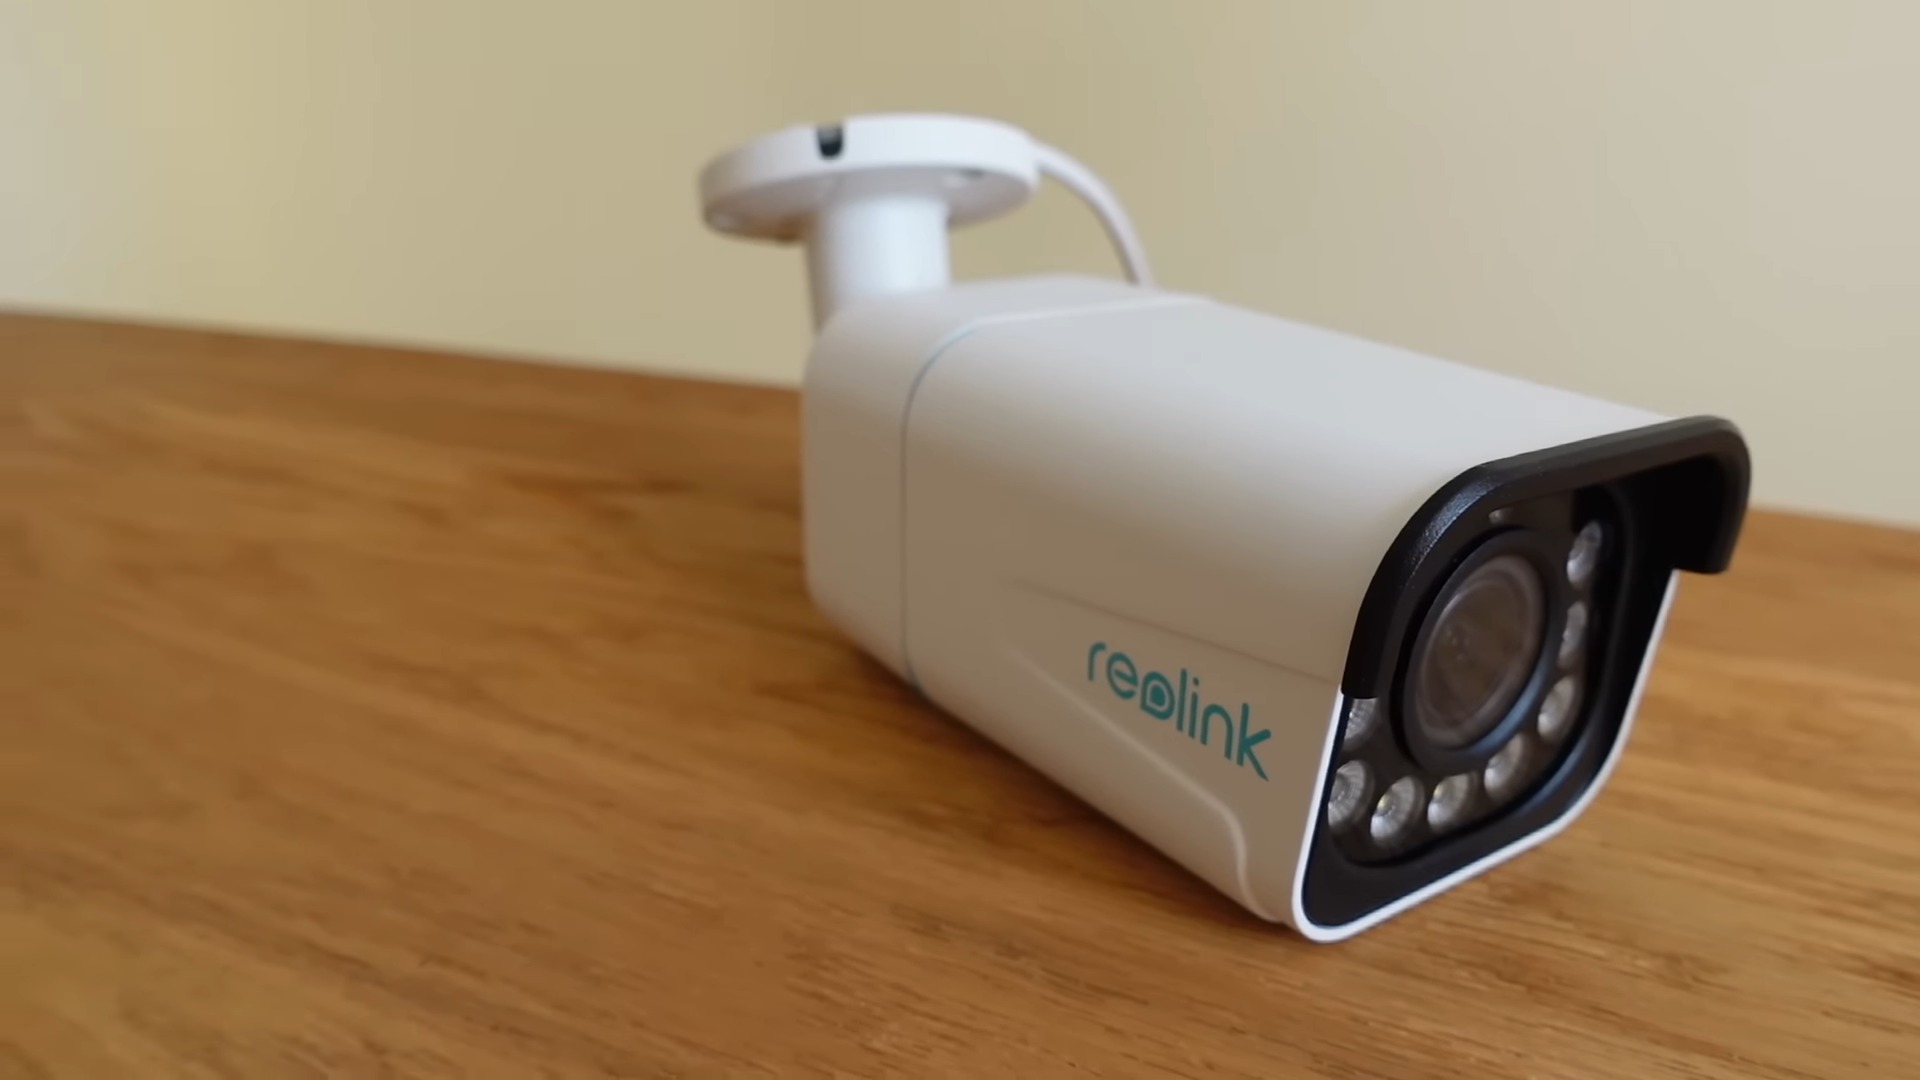
Security cameras are the eyes of your home security system, providing real-time surveillance and recording capabilities. Their placement is as strategic as it is critical for the overall effectiveness of your security system.
Camera Location Considerations
When deciding where to place your cameras, think about the areas you want to monitor. Common places include front and back doors, driveways, common areas, and any locations that are out of sight from the street. The goal is to cover as much area as possible without overlapping fields of view too much.
Installation and Angle Adjustment
After pairing your cameras with the base station, place them in their intended locations. If your cameras are wired, ensure that they have access to a power outlet. For wireless cameras, consider battery life and ease of battery replacement like Swan Wireless Cameras. Adjust the angles to minimize blind spots and test the views from the base station to ensure you have the coverage you need.
5. Adding Additional Sensors
Your basic security kit might come with specialized sensors, such as smoke detectors or carbon monoxide sensors. These devices provide an additional layer of safety beyond intrusion detection.
Pairing and Placing Specialty Sensors
Just like your other components, these sensors need to be paired with your base station. Follow the manufacturer’s instructions for placement—smoke detectors typically go on or near the ceiling, while carbon monoxide detectors are best placed near sleeping areas.
Ensuring Optimal Performance
Test each sensor to confirm it’s working correctly. For smoke and carbon monoxide detectors, this usually involves pressing a test button. Make sure they’re easily accessible for maintenance and located away from drafts that could interfere with their operation.
6. Testing the System
With all components installed, it’s time to test your security system thoroughly. This step is crucial to ensure that all elements are functioning together seamlessly.
System Walkthrough
Activate each sensor and monitor the base station’s response. Check the live feeds from your security cameras and ensure that the motion sensors trigger alerts as expected. If your system has a mobile app, ensure that you receive notifications on your device.
Final Adjustments
If any components are not responding as they should, troubleshoot according to the manufacturer’s guidelines. This might involve repositioning sensors, adjusting camera angles, or checking wireless connections. Once everything is working correctly, you can rest assured that your home is more secure.
DIY vs. Professional Installation
While installing a home security system is a feasible DIY project, it’s essential to know when to call in a professional. If you’re uncomfortable with any steps or your home requires a more complex system, professional installation might be the better choice.
When to Consider a Pro
If you’re considering a wired system or you want a more comprehensive setup that integrates with home automation, a professional installer can ensure that everything is set up correctly. They can also provide valuable advice on the best equipment and placement for your specific needs.
Cost Considerations
- Basic Installation: For a standard wireless system, professional installation can range from $99 to $350. This typically includes setting up the base station, sensors, and any basic cameras.
- Advanced Systems: If you’re opting for a wired system with high-end features, such as multiple cameras, smart home integration, and additional sensors, installation can cost anywhere from $600 to $1,200 or more.
- Additional Services: Monthly or annual monitoring services can add to the cost, generally between $15 to $60 per month, depending on the level of service you choose.
- Custom Solutions: For homes that require a fully customized security setup, including advanced surveillance cameras, smart locks, and extensive wiring, costs can escalate to $2,000 to $3,500 for installation.
Frequently Asked Questions
What to Know Before Purchasing?
Before buying a security system, assess your home’s needs, understand the different features available, and consider any ongoing costs for monitoring services. Read reviews and research to choose a system that’s reliable and fits your requirements.
Wired vs. Wireless Systems?
The choice between wired and wireless systems comes down to personal preference and specific home needs. Wireless systems offer easier installation and flexibility, while wired systems can be more reliable but require a more complex setup.
The Value of Home Security Systems?
The worth of a home security system is subjective and depends on individual circumstances. For some, a basic setup may suffice, while others may benefit from a more advanced system with professional monitoring. Consider your security needs, the value of your property, and your lifestyle when deciding.
Can I integrate smart home devices with my DIY security system?
Yes, many modern wireless security systems are designed to work with smart home devices. However, compatibility varies, so check with the manufacturer before purchasing.
How often should I test my home security system?
It’s recommended to test your system monthly to ensure all sensors and cameras are functioning correctly and to replace any batteries as needed.
Do I need a permit to install a home security system?
Some municipalities require a permit for home security systems, especially if you have professional monitoring. Check your local regulations to ensure compliance.
What’s the best way to maintain my security system?
Regular testing, keeping sensors free of dust, and ensuring cameras have clear views are all part of good maintenance. Also, update any software associated with your system to protect against vulnerabilities.
How can I prevent false alarms?
Proper placement of sensors, ensuring your system is calibrated correctly, and using pet-immune motion detectors can help reduce false alarms.
Can I take my security system with me when I move?
Most wireless systems are portable, making them ideal for people who move frequently. Check with your provider about any specific moving policies or requirements.
What should I do if my security system isn’t working properly?
Refer to the troubleshooting section of your user manual. If the issue persists, contact the manufacturer’s customer support or consider consulting a professional.
Final Words
Installing a home security system can be a straightforward DIY project that brings peace of mind and an added layer of protection to your home.
By carefully selecting the right system, preparing for installation, and following step-by-step instructions, you can secure your home against potential threats. Remember to stay informed about the latest security technologies and practices to keep your system effective and up-to-date.