
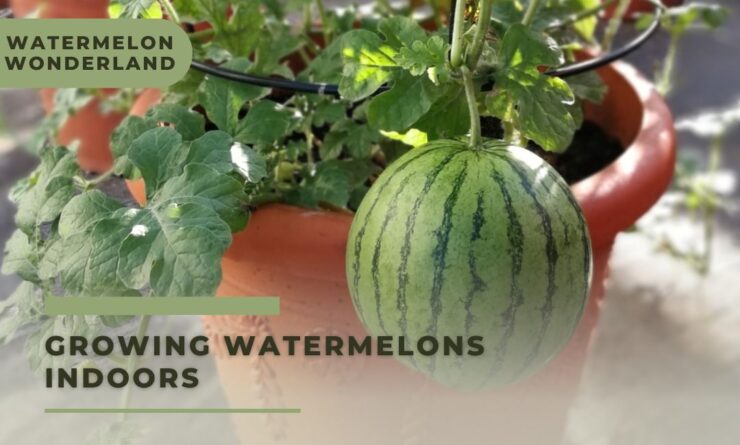
To easily grow watermelon indoors with the added benefits that it brings, let’s dive into the introduction. Discover the advantages of growing watermelon indoors, and get a glimpse into how this approach can result in a fruitful and satisfying experience.
Benefits of growing watermelon indoors
Indoor watermelon growing has numerous benefits for gardeners. Three key advantages are higher control over conditions, extended growing season, and protection from pests and diseases. Plus, indoor gardening allows experimentation with different varieties and greater stability and reliability compared to outdoor growing.
One successful example is Sarah Thompson from California. She grew watermelons indoors using hydroponics. Despite initial doubts, she harvested juicy and sweet fruits year-round. Indoor cultivation offers great potential for efficient growing and minimizes external risks.
Sarah’s dedication shows that anyone with determination can enjoy watermelons outside their usual season. Learning how to get started is an art in itself; just like finding matching socks in a dryer full of single socks!
Choosing the right watermelon variety for indoor cultivation
We’ve made a table of watermelon varieties that can be grown indoors. It has columns with info like fruit size, growth period, sweetness level, and seed type. So you can compare and pick the one that suits you.
Indoor watermelon cultivation has benefits. You can control environmental factors like temp and humidity. This means healthier plants and higher yields. Plus, you can grow watermelons all year round.
Watermelons have been around since ancient Africa. Over the years, farmers bred varieties for taste, texture, and quality. We’re fortunate to have such a wide range of yummy watermelons. All due to growers taking the time to breed them.
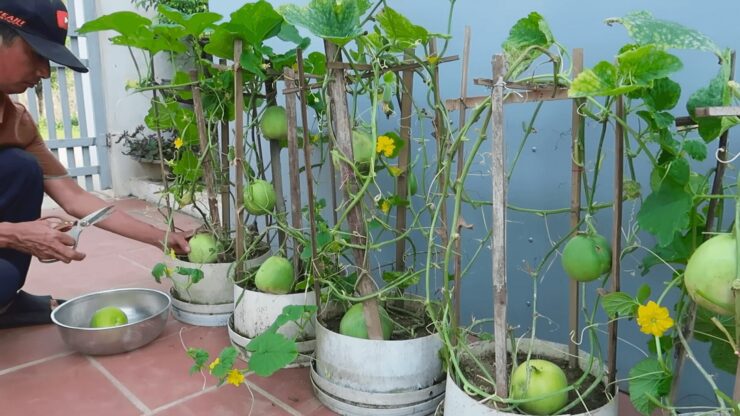
Selecting a suitable container for planting
Choosing the right container for your garden is vitally important. Here are some key points to bear in mind:
- Size counts: Pick a container suitable for the size of your plant. A large pot won’t do for a small plant and a small one can cause a larger plant to become root-bound.
- Drainage imperative: Ensure your container has drainage holes to prevent waterlogging, which is essential for the health of your plants and prevents root rot.
- Material matters: Materials such as terracotta, plastic, ceramic, and wood can impact insulation, weight, and look. Consider their durability and aesthetics when selecting.
- Location: Think about where the container will be placed. Direct sunlight or extreme temperatures may mean plastic is the best option. Indoors or outdoors?
- Maintenance: Different materials require different maintenance. Some need more frequent watering or special treatments. Consider your available time and commitment level.
- Budget options: Thrift stores often have cheap containers that can be repurposed for planting.
Plus, some plants have specific container requirements. Find out if your plant prefers deeper or shallower pots.
Pro Tip: Pebbles or broken pottery pieces at the bottom of your container helps drainage and healthy root growth.
Preparing the soil mix for indoor gardening
- Choose the right container. Pick one with drainage holes for proper moisture levels. This helps healthy roots.
- Gather components for a balanced soil mix. This could include potting soil, peat moss, perlite, vermiculite, and compost.
- Mix in the right proportions. Blend them together in a large container or wheelbarrow. The mix should be well-draining, but retain enough moisture for roots.
- Test the pH level. Use a pH testing kit to measure acidity or alkalinity. Most indoor plants like 6-7 pH level. Add lime to reduce acidity, or sulfur to increase it.
- Fill your containers. Put the soil mix in, leaving space for watering. Gently press down the soil for stability.
- Consider nutrients too. Use slow-release fertilizers or organic amendments. These nourish plants and help them grow.
- Monitor moisture levels. Indoor environments have less humidity. Look out for signs of underwatering or overwatering, such as yellowing leaves or wilting plants.
By following these steps, you’ll create the perfect soil mix for healthy root growth and happy indoor plants. The right balance of nutrients and appropriate watering techniques are key for successful indoor gardening ventures.
Sowing watermelon seeds and proper spacing
- Select a spot in your garden with good drainage and lots of sunlight.
- Remove any weeds or grass.
- Loosen the soil with a garden fork.
- Dig 1-inch deep holes, place one or two watermelon seeds in each, and cover with soil.
- Space holes 3 feet apart.
- Gently water the seeds, to keep the soil moist throughout the germination period (7-10 days).
- Thin out seedlings as necessary, leaving only the strongest in each hole.
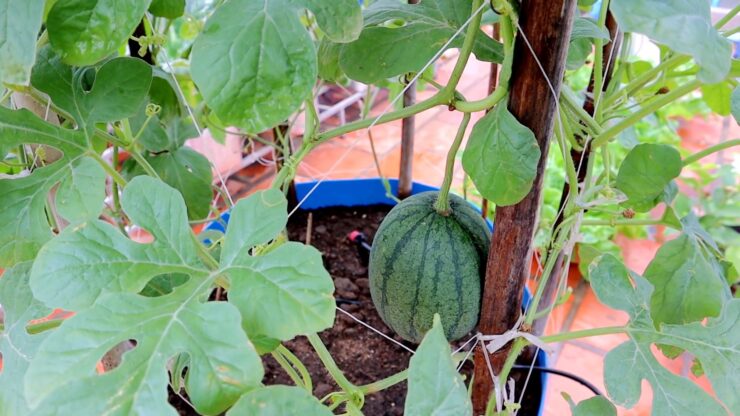
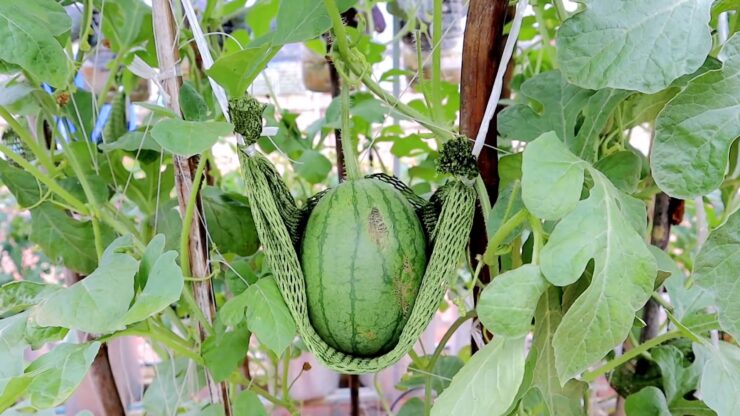
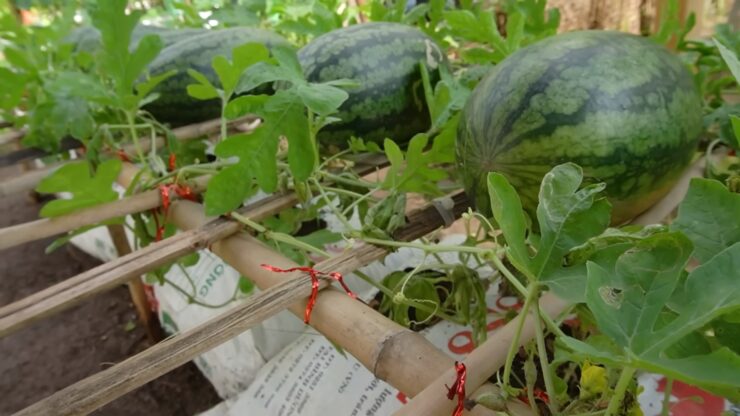
- Consider using trellises or cages to support them.
- Watermelons need regular watering and some mulch around their base to conserve moisture.
- Fertilize every 2-3 weeks with a balanced fertilizer.
- Happy gardening!
Providing the right amount of sunlight and temperature
Choose the perfect spot! Get enough light for the plant according to its needs. Keep an eye on the intensity of the sunlight and adjust placement or use shading to avoid too much exposure. Be aware of temperature changes and protect plants from extreme heat or cold.
Certain plants may need direct sunlight during certain hours, so make a plan. Utilize artificial lighting if natural light is limited. Use grow lights for backup. Moreover, regulate humidity and provide proper ventilation. Each plant has different requirements, so do your research!
Bonus tip: Don’t put plants near windows with drafts, as it may harm their growth. Transforming your living room into a watermelon paradise may be a bit chaotic, but at least you don’t need to keep watering the plants when you spill your drink!
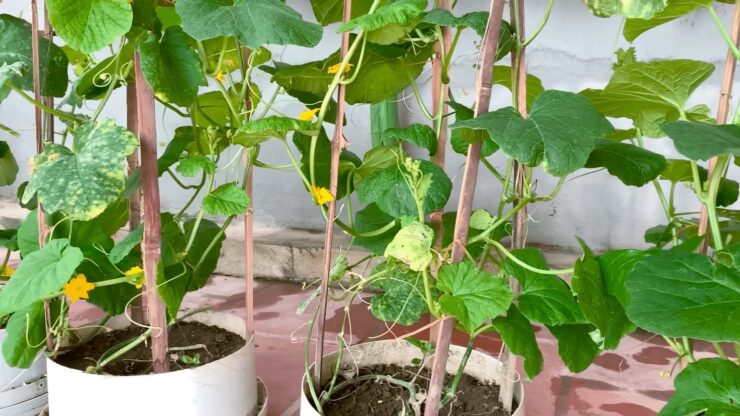
Pruning and trellising for better growth
Pruning and trellising are must-dos for better plant growth and health. Pruning helps redirect plant energy towards new growth by cutting off dead or overgrown branches. Trellising supports and encourages vertical growth, helping plants get more sunlight. Here’s how to do it:
- Inspect and identify dead or diseased branches. Use sharp pruning shears to cut above a healthy bud or node.
- Thin out overcrowded areas of the plant. Remove crossing or rubbing branches, as well as inward-facing stems that hinder air circulation.
- To promote bushier growth, pinch back young shoots after they have four to six leaves. This stimulates lateral branching.
- Choose a sturdy structure for trellising – e.g., stakes, cages, netting systems.
- Secure the main stem or vine to the trellis with soft ties or twine, but not too tightly.
- Monitor your plants and adjust the positioning of vines or stems as needed.
Timing matters too – prune during dormant periods or after blooming cycles. Trellis when new growth is starting.
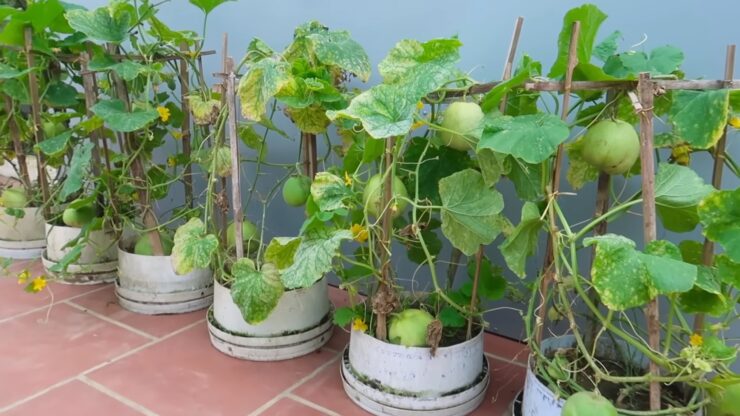
Common pests and diseases affecting indoor watermelon plants
Watermelon plants grown indoors can suffer from several pests and diseases. Here’s a look:
- Bacterial wilt – a bacterial infection of the plant’s vascular system, leading to wilting and death.
- Aphids – tiny insects that suck sap from the leaves and cause stunted growth.
- Powdery mildew – a fungal infection resulting in a white coating on leaves, affecting photosynthesis.
- Spider mites – arachnids that thrive in dry conditions, causing yellowing of leaves by piercing and extracting sap.
- Fruit flies – pests that lay eggs on ripening watermelon fruits, leading to infestation and spoilage.
When growing watermelons indoors, pay attention to humidity, air circulation, and watering practices.
Did you know? Certain varieties of watermelon are resistant to bacterial wilt, making them great for indoor cultivation. Plus, you can call on an army of ladybugs to help combat aphids and spider mites!
Organic methods for pest control
Gardeners can use organic pest control methods to protect their crops. These methods include:
- Biological pest control – introducing natural predators, such as ladybugs or birds, to feed on pests.
- Crop rotation – disrupting the life cycle of pests by rotating crops in a field.
- Companion planting – using plants with natural properties that repel pests.
- Physical barriers – using nets or fences to protect crops from larger pests.
Organic pesticides and insecticides, derived from plants or minerals, can also be used to target specific pests without harming beneficial insects or pollinators.
Take, for example, a small community garden plagued by aphids. The gardeners introduced ladybugs as a biological control method and, within weeks, the aphid population had dramatically decreased.
Organic pest control methods can help us protect our crops, conserve the environment, and promote a healthier, more sustainable way of farming. Nature has the solutions – take advantage of them and enjoy the benefits!
Early detection and prevention of diseases
If a sickness or bug is found, take preventive measures. This includes picking resistant types, being clean, and having good growing conditions. Examine the situation routinely to make sure the methods work and change if needed.
Integrated pest management is important for spotting and stopping diseases early. This system uses biological control, cultural practices, chemical control (sometimes), and mechanical control. Mixing these methods can help farmers avoid diseases in their crops.
Teach farmers about the signs of sicknesses and bugs. Knowing this will help them act fast and stop the problem faster.
In summary, early detection and prevention of diseases is key to managing pests. Monitor regularly, use integrated pest management, and inform farmers – this is how we limit the damage from diseases to farming.
Don’t wait! Secure your crops from diseases. Keep an eye out for pests and diseases on your land. Quick action is essential for minimizing damage and loss – go for it now! Why store your harvested crops when you can let the pests and diseases have a feast, it’s like a free buffet for them!
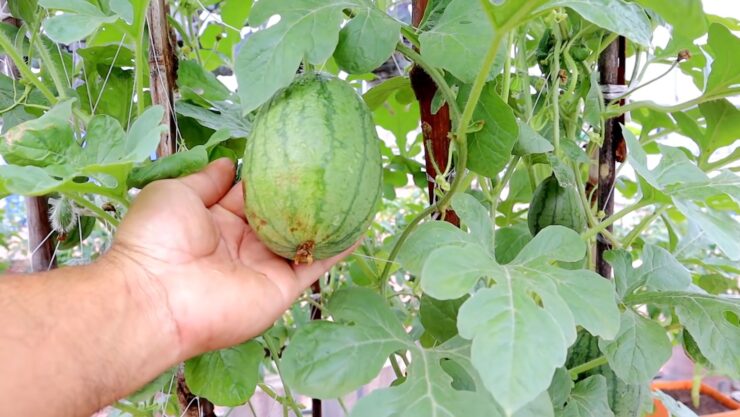
Signs of watermelon maturity and readiness for harvest
When it comes to harvesting watermelons, there are certain signs you should look out for. Four key points of indication include:
- Duller skin with no shine, showing the melon is ready to be harvested.
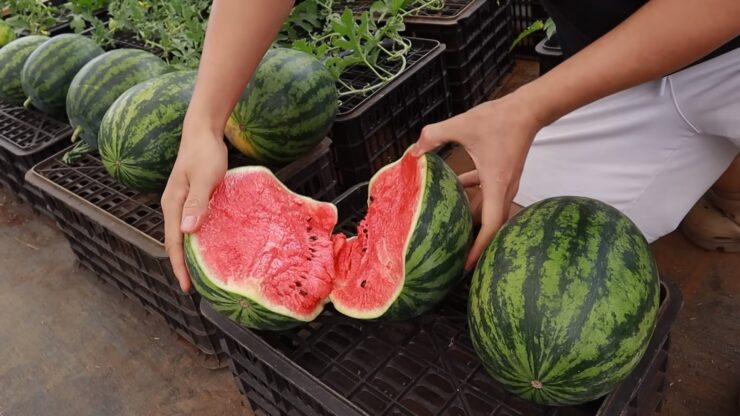
- Yellow or creamy belly – a sign of ripeness and sweetness.
- Browned tendrils near the stem – a sign of maturity.
- When tapping, the melon should sound hollow – indicating it’s time to pick.
Smaller details can help too! The skin should not have any green hue, and there should be no soft spots or bruising on the surface.
Pro Tip: For extra flavor and crispness, store harvested watermelons in a cool place before enjoying. Nature’s gift awaits!
Proper techniques for harvesting and handling watermelons
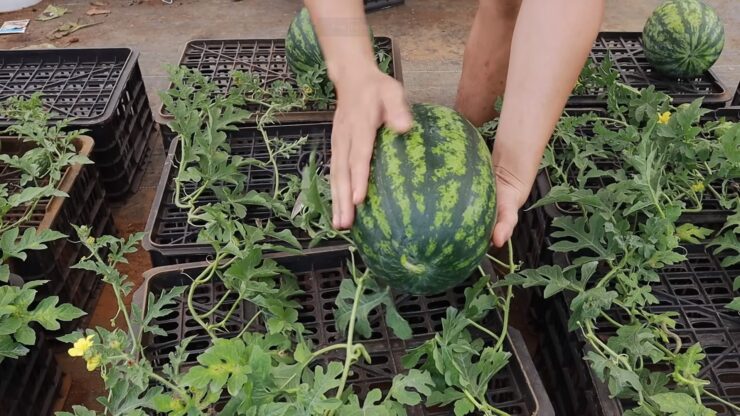
- Assess ripeness by looking for a dull, matte appearance and feeling heavy for its size.
- Tap it to hear the hollow sound.
- To harvest, use a sharp knife or shears to cut the stem an inch above the fruit – no pulling or twisting!
- Gently place them into padded containers and store in a cool, dry place like the basement or pantry.
- Room temperature is good for a week, but refrigerate for longer shelf life.
- Rinse the surface with cool water before serving and cut into slices or cubes.
- For extra sweetness, try a recommended variety and consult local experts about climate conditions.
- These tips will help you experience the juicy goodness of a fresh watermelon – so don’t delay!
- Start enjoying nature’s sweet gift today!
Storing harvested watermelons for long-lasting freshness
Harvesting and storing watermelons correctly is essential to keep them fresh and of good quality for long. Follow these steps and your watermelons will stay fresh for a long time.
- Step 1: Choose ripe watermelons. Look for uniform shape, firm skin, and a yellowish or creamy white spot on the bottom. This means it’s ripe.
- Step 2: Clean and dry them. Use a clean cloth or paper towel to wipe off dirt or debris. Dry them thoroughly to avoid moisture.
- Step 3: Store in cool, well-ventilated area. Place them in a cool room or basement where temperature is 45 to 50 degrees Fahrenheit. Ensure proper air circulation to avoid condensation.
Note: Storing watermelons with other produce can hasten their ripening due to ethylene gas emission. So, keep them separate.
Did you know that ancient Egyptians were among the first to cultivate watermelons as early as 4000 BC? They highly esteemed this juicy fruit and sometimes buried it with their pharaohs for nourishment in the afterlife.
FAQs
How long does it take for watermelons to grow indoors?
Watermelons grown indoors take 85-95 days to mature. Here’s a guide on how to grow them:
- Choose the right variety – smaller ones bred for indoor cultivation.
- Prepare the soil – use a well-draining potting mix with plenty of organic matter.
- Provide adequate sunlight – at least 6-8 hours of direct sunlight daily or artificial lighting equivalent.
- Monitor conditions – temperature should be 70-85°F (21-29°C) and humidity around 80%.
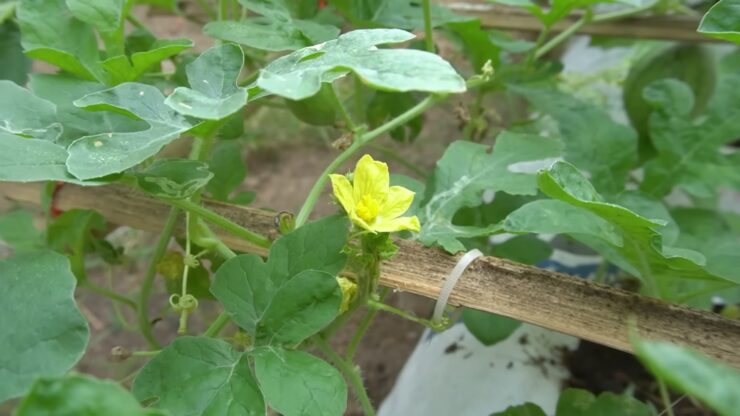
Pollinating the flowers may be difficult indoors. You may need to manually pollinate them using a brush or by gently shaking the plant.
Sarah, a greenhouse enthusiast, decided to experiment with indoor watermelon cultivation during winter. With attention to temperature and light, she grew several juicy watermelons for her family’s holiday gathering. An unexpected delight!
Now you have all the information, so it’s time to start your own indoor watermelon-growing adventure! Find out the shocking truth about watermelons that might make you question your gardening abilities.
How many watermelons can be harvested from a single indoor plant?
Indoor watermelon growing can yield an unpredictable number of fruits. Factors like size, health, and care are highly influential. This article examines these factors and offers advice on how to maximize output.
A table of average watermelon yields from one indoor plant:
| Plant Size | Average Yield |
|---|---|
| Small | 1-2 |
| Medium | 3-4 |
| Large | 5-6 |
| Exceptional Growth | 7+ |
Numbers can differ. Variety, conditions, and care all affect the outcome. To boost your chances of a bigger haul, try these tips:
- Give your plant enough sunlight – use grow lights if natural light is lacking.
- Keep the soil moist but not soggy. Use filtered or distilled water for best results.
- Fertilize regularly with the right nutrients. Talk to gardening experts or look up guidelines for indoor watermelon growing.
By taking note of these tips and customizing them, you can increase the amount of watermelons you harvest. And you’ll be rewarded with juicy fruit throughout the season! Finally, will reading this help you become wiser? Probably not, but it won’t hurt!
What type of watermelon is best for indoor growing?
Determining the best watermelon variety for indoor growing depends on factors such as space availability and climate control. Compact or miniature varieties like “Sugar Baby” or “Mini Love” are often preferred for smaller indoor gardens.
What are the key requirements for growing watermelons indoors?
Indoor watermelon cultivation requires a few key elements. Adequate sunlight or artificial lighting, proper temperature and humidity control, well-drained soil, and regular watering are essential for successful growth.
How long does it take for indoor watermelons to mature?
The time taken for indoor watermelons to mature can vary depending on the specific variety and growing conditions. Generally, it takes around 60 to 90 days from planting to the harvest of ripe watermelons.
Do indoor watermelons require pollination?
Yes, indoor watermelons require pollination to develop fruits. Since there may be no natural pollinators indoors, manual pollination using a small brush or gently shaking the plants can be done to transfer pollen between flowers.
How should indoor watermelons be harvested?
Once the watermelons are fully ripened and have a dull skin color, they can be harvested by cutting the fruit from the vine with a sharp knife or shears. It is important to leave a short stem attached to the fruit to increase its shelf life.