
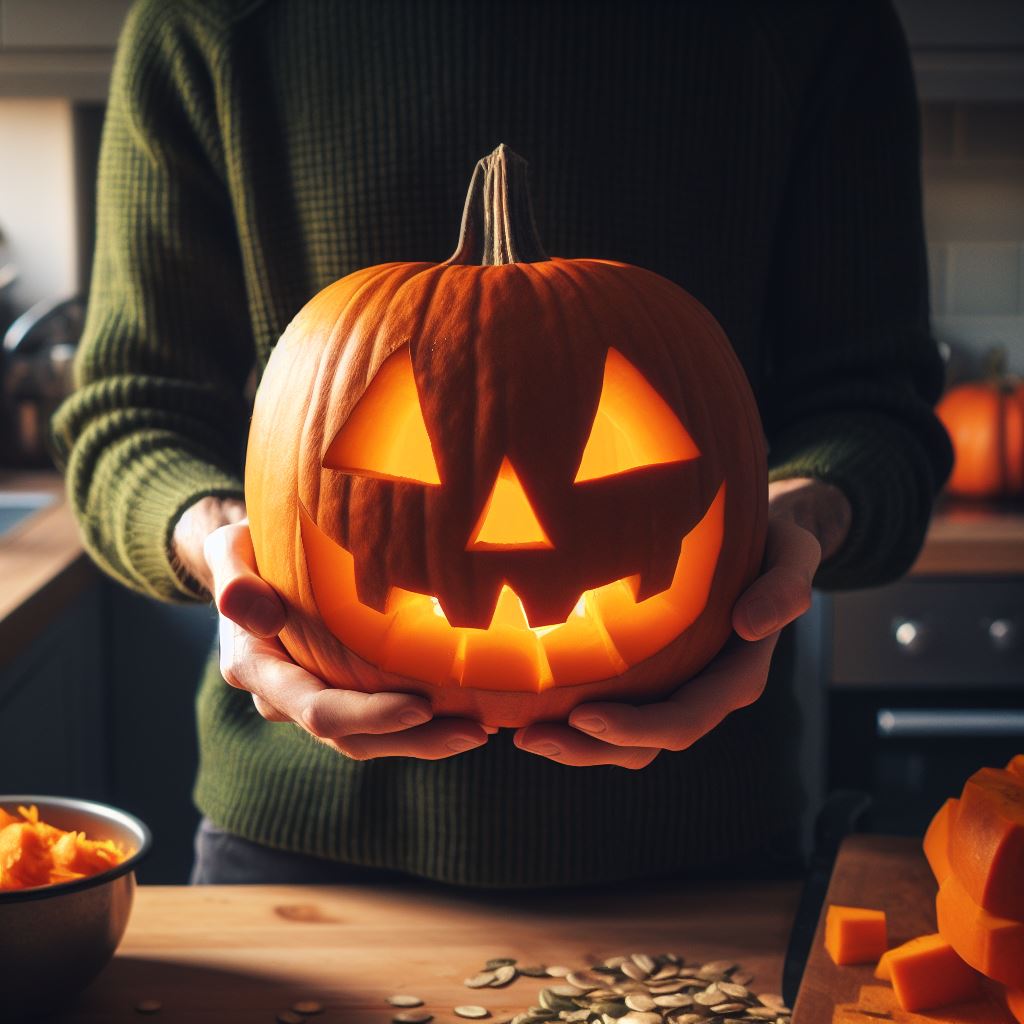
Carving a pumpkin is a cherished tradition for many during the Halloween season. It’s a fun and creative way to express yourself and add a spooky touch to your home decor.
Whether you’re a beginner or a seasoned carver, there’s always something new to learn. In this comprehensive guide, we’ll walk you through the process step-by-step, offering expert tips and techniques to help you create a pumpkin masterpiece.
Personal Insight
 Every year, as the leaves begin to change and the air turns crisp, I find myself eagerly anticipating the ritual of pumpkin carving.
It’s more than just a festive activity; it’s a bridge to cherished memories of childhood, a tactile connection to the season, and a canvas for personal expression. Each pumpkin tells a story, from the careful selection at the patch to the final flicker of its candlelit grin.
The joy of seeing a design come to life, the tactile pleasure of scooping out the seeds, and the warm glow of the finished product on a chilly evening are experiences that never grow old. It’s a reminder that sometimes, it’s the simplest traditions that hold the most profound meanings.
Whether you’re carving a classic jack-o’-lantern or crafting a detailed masterpiece, the journey is as rewarding as the destination. So, as you embark on your pumpkin carving adventure this year, I encourage you to savor each moment, embrace the imperfections, and let your creativity shine.
Choosing the Perfect Pumpkin
The foundation of a great carving is selecting the right pumpkin. It’s not just about size or shape; there are other factors to consider to ensure your carved pumpkin lasts.
Why the Stem Matters
The stem of a pumpkin is more than just a handle; it’s a lifeline. A green and intact stem indicates a fresh pumpkin, which will not only be easier to carve but will also last longer.
As Marc Evan of Maniac Pumpkin Carvers explains, the stem provides moisture and nutrients to the pumpkin even after it’s been cut from the vine. A brittle or missing stem can be a sign of an older pumpkin that might not hold up as well after carving.
Storing Your Pumpkin
Before you get to carving, it’s essential to store your pumpkin correctly. Keep it out of direct sunlight and in a cool place. While an uncarved pumpkin can last up to a month, once carved, its lifespan reduces significantly.
For maximum longevity, consider wrapping your pumpkin in plastic wrap and storing it in a cool basement or refrigerator when not on display.
Preparing Your Carving Space
 Carving can be a messy affair. Preparing your workspace in advance can make the process smoother and more enjoyable.
Selecting the Right Surface
Carving outdoors on a table covered with a disposable plastic tablecloth is ideal. This setup allows for easy cleanup – simply roll up the tablecloth with all the pumpkin debris and dispose of it.
If you’re carving indoors, ensure your work surface is covered with a tablecloth or kraft paper to protect it from stains.
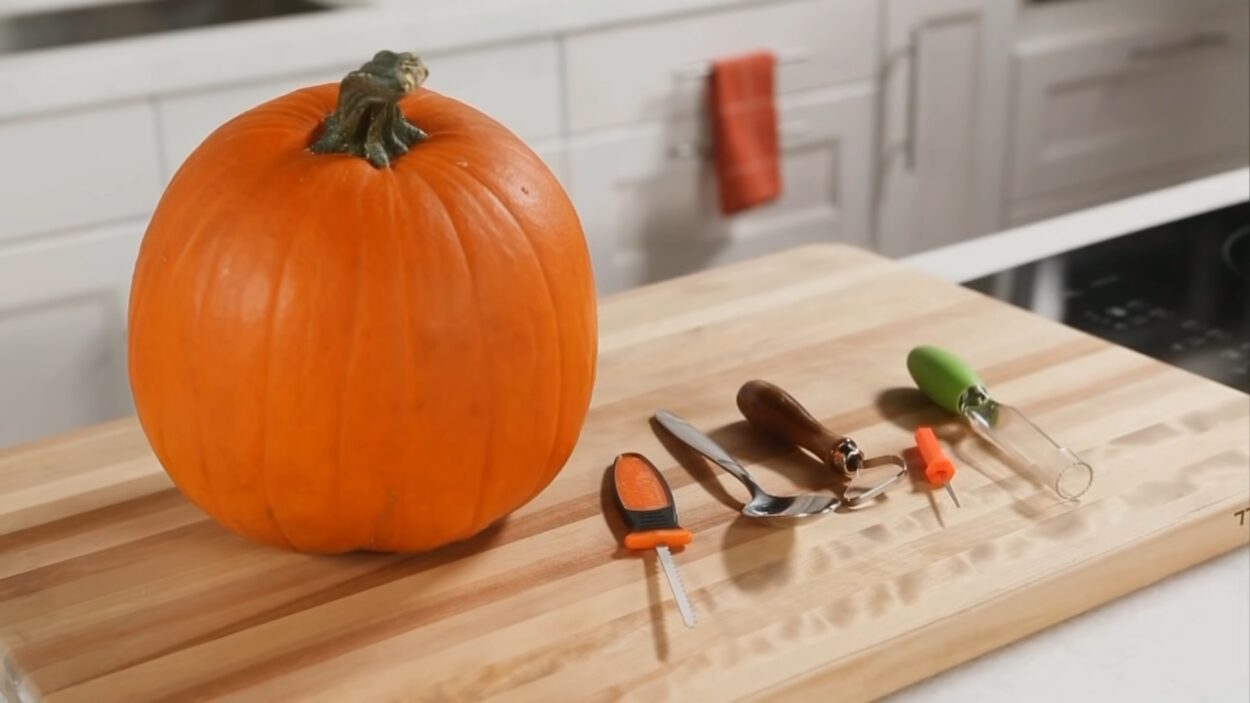
Essential Carving Tools
While there are specialized pumpkin carving kits available, some of the best tools might already be in your kitchen. Here are some expert-recommended tools:
- Ice cream scoop: Perfect for removing the pumpkin’s insides.
- Filet knife: A thin, narrow blade is ideal for making precise cuts.
- Paring knife: Great for detailed carving work.
- Lemon zester and vegetable peeler: These can be used for adding creative decorative effects and textures.
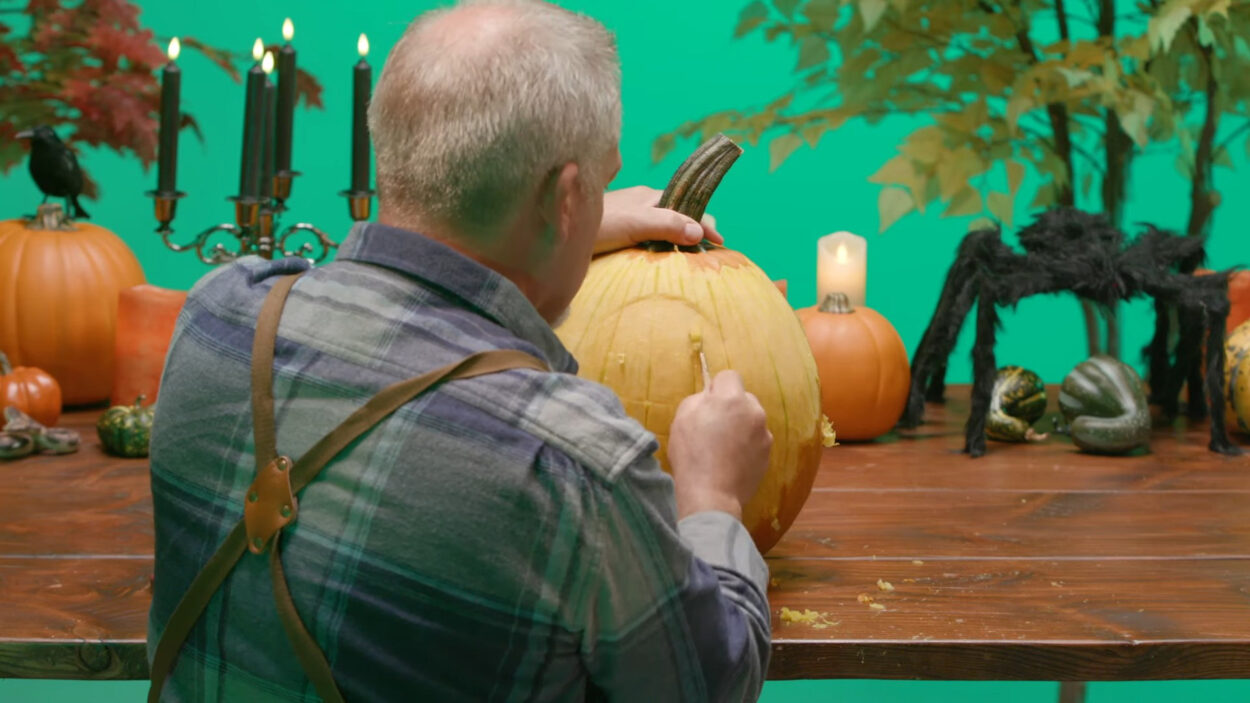
Designing and Carving Your Pumpkin
 With your workspace set and tools at the ready, it’s time to bring your pumpkin design to life.
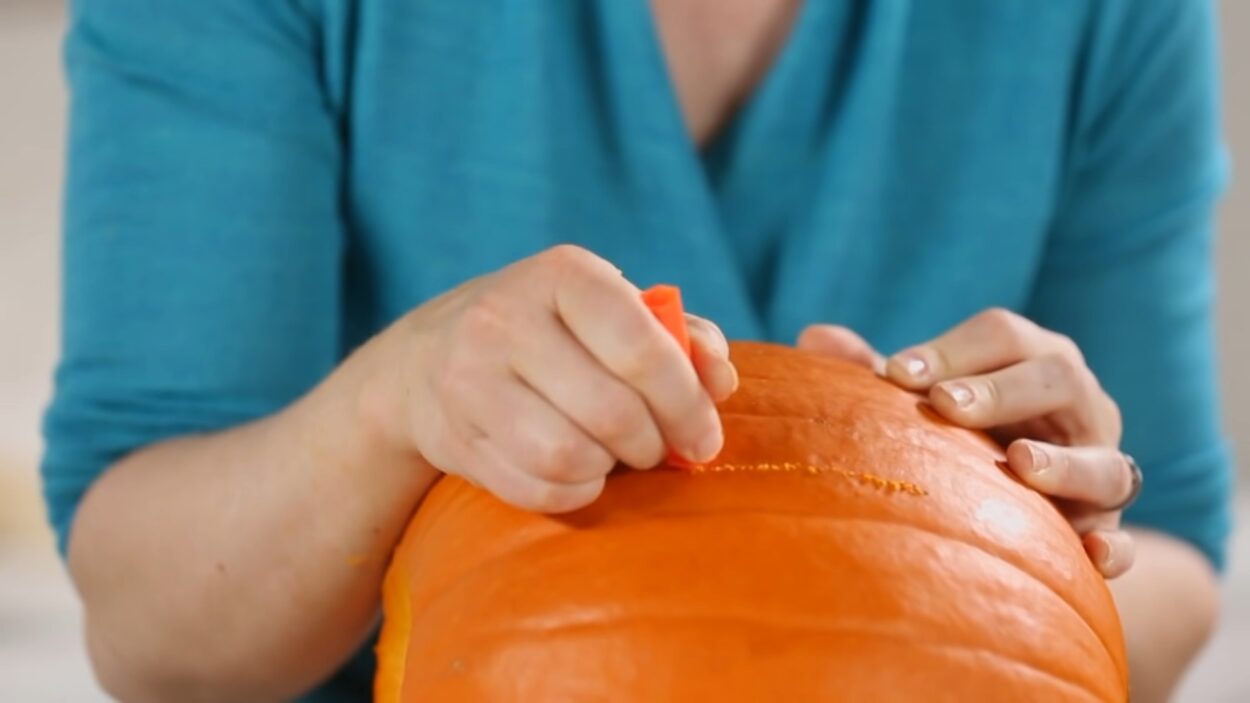
Sketching Your Design
Before making any cuts, it’s a good idea to sketch your design on paper. Once you’re satisfied, transfer the design onto your pumpkin using a dry-erase marker, washable colored marker, or grease pencil.
These can be easily wiped off the pumpkin’s surface. For intricate designs, consider using transfer paper or a stencil.
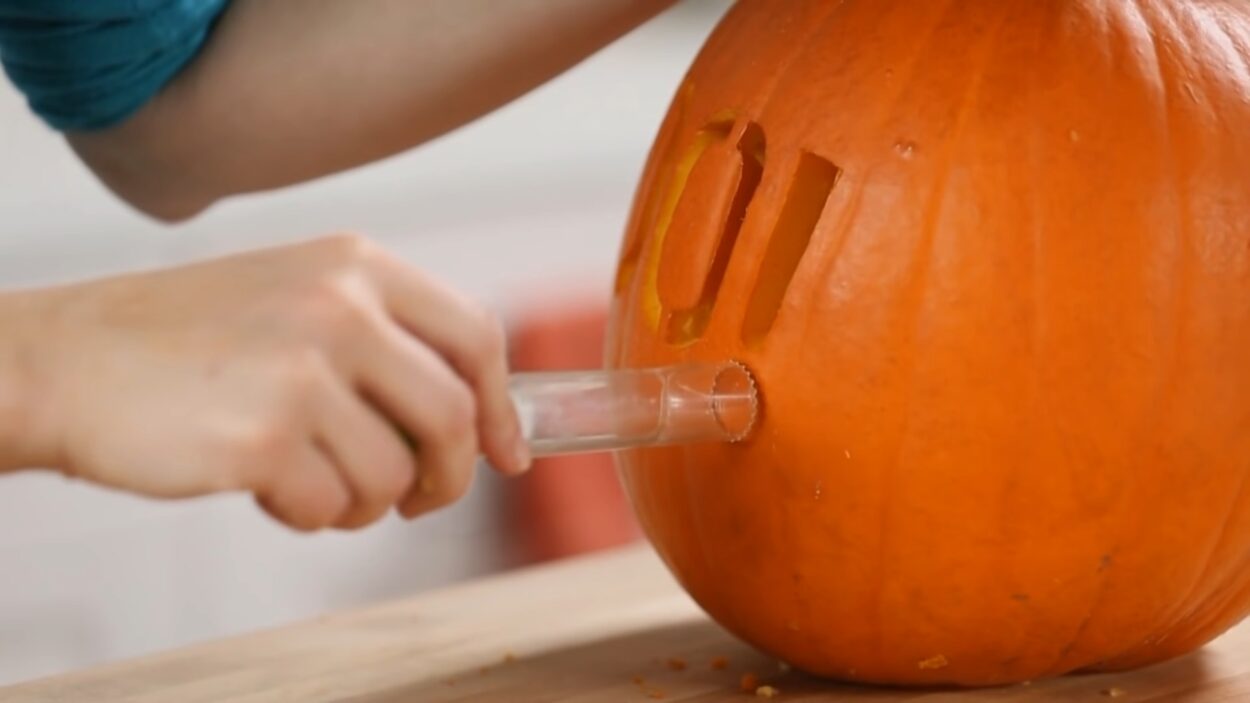
Carving Tips
When carving, always ensure your stabilizing hand is out of the knife’s path. If a carved piece doesn’t come out easily, try pushing it in from the back.
If you accidentally cut too deeply and a piece falls out (like a tooth of a jack-o’-lantern), don’t fret! You can use toothpicks to reattach the piece.
Preserving Your Carved Pumpkin
Once you’ve put in the effort to carve your pumpkin, you’ll want to ensure it lasts as long as possible. Proper preservation can extend the life of your carved masterpiece.
Bleach Spray Technique
A simple trick to prolong the life of your carved pumpkin is to spray it inside and out with a bathroom cleaner containing bleach. Allow it to evaporate for at least five minutes.
This not only prevents the pumpkin from rotting quickly but also deters squirrels and other critters from nibbling on it.
Natural Preservation Methods
If you prefer a more natural approach, consider rubbing the cut surfaces of your pumpkin with petroleum jelly. This acts as a barrier, keeping the pumpkin moist and preventing it from drying out.
Another method is to soak the pumpkin in a solution of water and a little bleach, which can help kill off bacteria and keep the pumpkin fresh.
Lighting Your Pumpkin
 A carved pumpkin truly comes to life when it’s illuminated. There are various methods to light up your pumpkin, each offering a unique glow.
LED String Lights
For bright and even illumination, consider placing a ball of LED holiday string lights inside your pumpkin. Ensure the cord trails out the back panel to connect to an electrical outlet. This method is safe and provides consistent lighting.
Flameless Candles
Battery-operated flameless candles are another excellent option. They offer the flickering effect of real candles without the fire hazard. Plus, they’re easy to turn on and off.
Traditional Candles
If you’re a purist and prefer the ambiance of a real candle, go for it! Just ensure you cut a vent in the top back of the pumpkin. This allows smoke to escape and ensures proper airflow, keeping the candle burning steadily.
Creative Carving Techniques
Beyond the traditional jack-o’-lantern face, there are countless creative carving techniques to explore. Let’s delve into some advanced methods to elevate your pumpkin artistry.
Textured Carving
Using tools like lemon zesters, melon ballers, and vegetable peelers, you can create unique textures on your pumpkin. For instance, a melon baller can be used to carve out perfect circles, creating a polka-dot pattern or even pumpkin “eyeballs.”
Layered Carving
Instead of cutting all the way through the pumpkin, consider carving layers. This technique involves removing the pumpkin’s skin in certain areas, allowing a soft glow to shine through the thinner sections. It’s perfect for creating detailed designs or shaded effects.
Stencil Mastery
While freehand designs are impressive, stencils can help you achieve intricate patterns and designs. From spooky scenes to detailed portraits, there’s a stencil for every theme. Simply tape your chosen stencil to the pumpkin and trace the design with a poking tool. Then, carve along the dotted lines for a flawless result.
Safety First: Carving Precautions
While pumpkin carving is a fun and festive activity, it’s essential to prioritize safety, especially when sharp tools are involved.
Choose the Right Tools
Opt for tools specifically designed for pumpkin carving. These are often less sharp than regular kitchen knives but are designed to cut through the pumpkin’s thick skin efficiently.
If children are involved, ensure they use safety tools or are supervised at all times.
Stable Surface
Always carve your pumpkin on a stable surface. A wobbly table can lead to accidents. Place a non-slip mat or damp cloth under the pumpkin to prevent it from sliding around while you carve.
First Aid Preparedness
Always have a first aid kit nearby when carving. In case of minor cuts, it’s essential to clean the wound immediately and apply an antibiotic ointment.
Beyond Carving: Alternative Pumpkin Decor
If you’re looking for a less traditional approach or want to avoid sharp tools, there are plenty of alternative methods to decorate pumpkins.
Painting Pumpkins
Grab some acrylic paints and brushes, and let your creativity flow! Painting pumpkins allows for detailed designs without the mess of carving. Plus, painted pumpkins tend to last longer than carved ones.
Decorative Accessories
From stick-on gems to ribbons, bows, and lace, there are countless accessories you can use to adorn your pumpkin. This method is especially kid-friendly, as it allows them to personalize their pumpkins without any risks.
Decoupage Pumpkins
Using Mod Podge and decorative paper or fabric, you can create stunning decoupage pumpkins. Whether you prefer a vintage look with old book pages or a modern design with colorful patterns, the possibilities are endless.
Pumpkin Seeds: Don’t Waste Them!
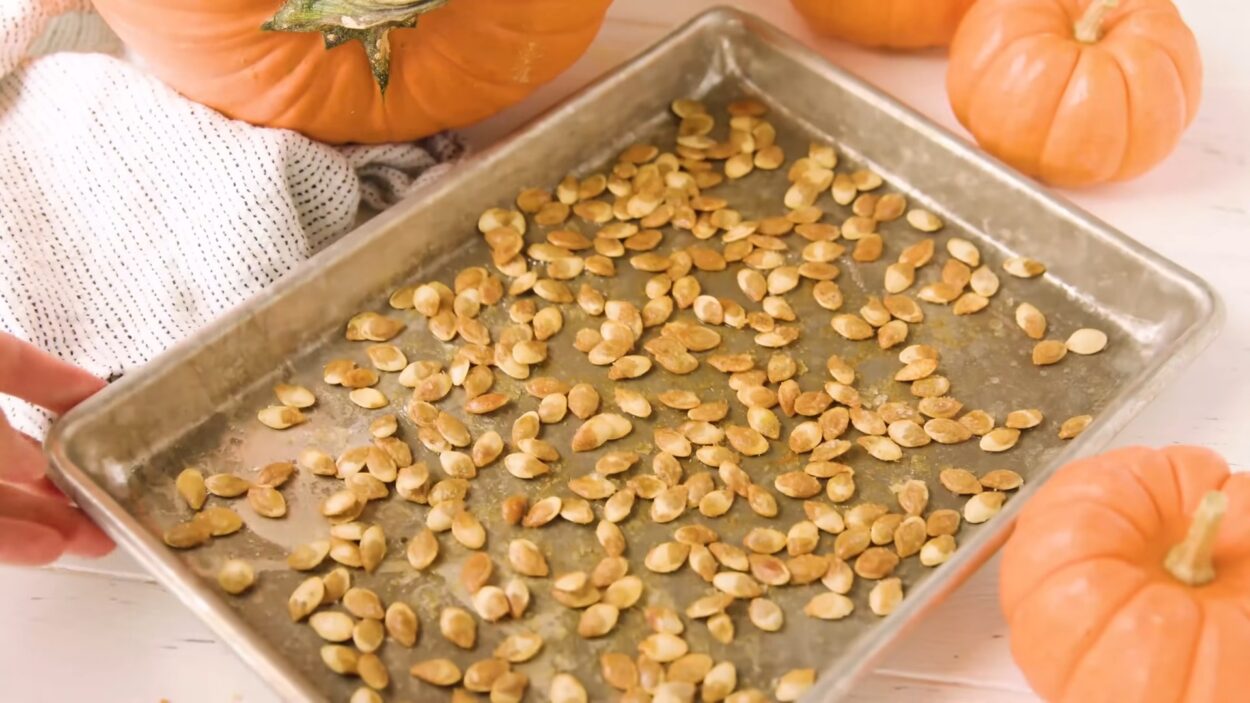 While the focus is often on the pumpkin’s exterior, the seeds inside are a delicious treat waiting to be enjoyed.
Roasting Pumpkin Seeds
After scooping out your pumpkin, separate the seeds from the pulp. Rinse them, pat dry, and toss with a little olive oil and your choice of seasonings.
Spread them on a baking sheet and roast in the oven until golden brown. They make a crunchy and healthy snack!
Creative Seasonings
While salted pumpkin seeds are a classic, don’t be afraid to get creative with your seasonings. Some popular options include cinnamon sugar, spicy chili powder, or even a parmesan garlic blend.
FAQ
Can I use a regular kitchen knife for pumpkin carving?
While it’s possible, it’s not recommended. Specialized pumpkin carving tools are designed for safety and precision.
How long does a carved pumpkin typically last?
Depending on the environment and preservation methods, a carved pumpkin can last anywhere from a few days to two weeks.
Is it safe to eat a pumpkin after it’s been carved?
It’s best not to consume a pumpkin that’s been sitting out after carving, especially if it’s been several days. However, the seeds can be roasted and eaten if cleaned properly.
Can I carve other types of squash or gourds?
Absolutely! Many gourds and squashes have a firm texture suitable for carving. Each offers a unique shape and texture for creative designs.
My pumpkin started molding. Can I stop it?
Once mold starts, it’s challenging to stop. It’s best to carve a new pumpkin and use preservation methods to prevent mold growth.
Final Words
Pumpkin carving is a delightful tradition that brings creativity and festivity to the Halloween season. Whether you’re a novice or a seasoned carver, every pumpkin is a canvas waiting for your unique touch.
Embrace the process, learn from each experience, and most importantly, enjoy the magical glow of your carved masterpiece.