
Fixing a flat tire is a skill that can save you from the inconvenience of being stranded on the side of the road. Whether you’re a seasoned driver or a novice, knowing how to handle this common issue is essential.
This guide will walk you through the process, drawing from personal experiences and industry best practices to ensure you’re back on the road safely and swiftly.
Before getting into the repair process, it’s crucial to understand what causes flat tires and how to identify one. A flat tire can occur due to a puncture from sharp objects, a failed valve stem, tire bead leaks, or a damaged tire.
Recognizing the signs early on, such as a thumping sound, the car pulling in one direction, or a flat appearance of the tire, can prevent further damage.
It’s critical to note that driving on a flat tire should be strictly limited; doing so not only risks rim damage but also compromises vehicle control, potentially leaving you ‘on the brink’ of a more serious incident.
Recognizing a Flat Tire
From personal experience, the first sign of a flat tire isn’t always as dramatic as a loud pop. Sometimes, it’s a subtle change in the vehicle’s handling or an unusual vibration. Pay attention to the steering wheel’s responsiveness and any new or odd noises. Early detection is key to minimizing damage to the tire and wheel.
Common Causes of Flat Tires
- Road Hazards:
- Nails, glass, and other sharp objects can puncture the tire’s surface, leading to a flat.
- Potholes and uneven road surfaces can cause damage to the tire sidewall or tread.
- Poor Tire Maintenance:
- Low tire pressure puts additional stress on the tire walls, potentially leading to a blowout.
- Worn treads reduce the tire’s ability to withstand sharp objects and can compromise the structural integrity.
- Regular Checks:
- Inspecting tires regularly for any embedded objects or visible damage can prevent unexpected flats.
- Monitoring and maintaining the correct tire pressure according to the manufacturer’s specifications is crucial.
- Valve Stem Issues:
-
- A damaged or corroded valve stem can lead to air leakage and tire deflation.
- Regularly checking the valve stem for damage and ensuring the cap is secure can prevent slow air leaks.
- Tire Bead Leaks:
- The tire bead, which seals the tire to the rim, can sometimes leak air if not seated properly.
- Bead leaks can often be detected by a hissing sound at the wheel’s edge and should be addressed by a professional.
- Vandalism:
- Unfortunately, intentional deflation by someone letting the air out can also result in a flat tire.
- Parking in well-lit, secure areas can help deter such acts.
- Age and Wear:
- Over time, tires can dry out and become brittle, leading to cracks and eventual failure.
- Replacing tires at the recommended intervals can prevent age-related flats.
Preparing to Fix a Flat Tire
When you encounter a flat tire, the first step is to ensure your safety before attempting a repair. This means pulling over to a safe location, away from traffic, and turning on your hazard lights.
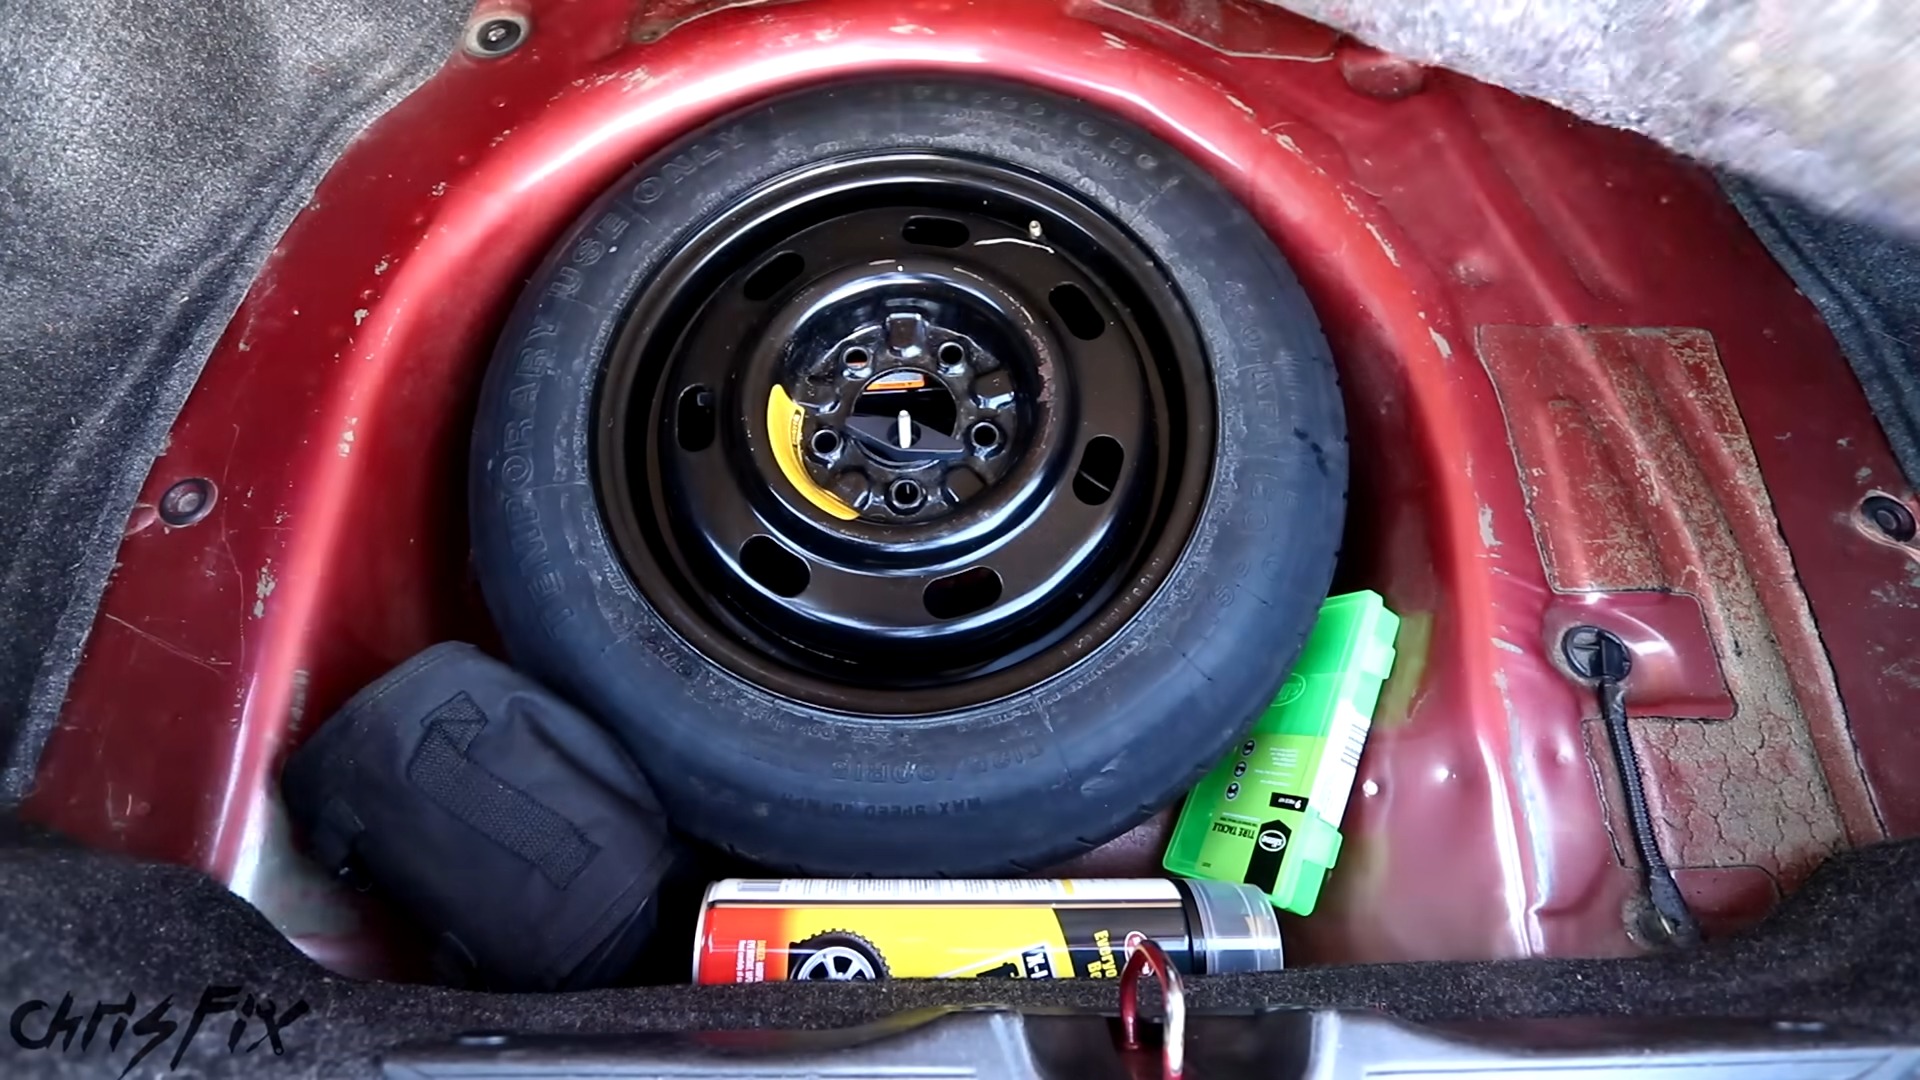
Always have your emergency tools and spare tire ready for such situations.
Safety First
From my own mishaps, I’ve learned that safety must come first. Once, I tried to change a tire too close to the road and nearly had a door clipped by a passing truck.
Now, I find a wide shoulder or a parking lot to work in. Turn on your hazard lights, apply the parking brake, and if you have them, place reflective cones or triangles behind your vehicle.
What You Need To Repair
A proper fix requires the right tools.
- Jack: A sturdy jack is essential for lifting the car off the ground to remove the flat tire and install the spare.
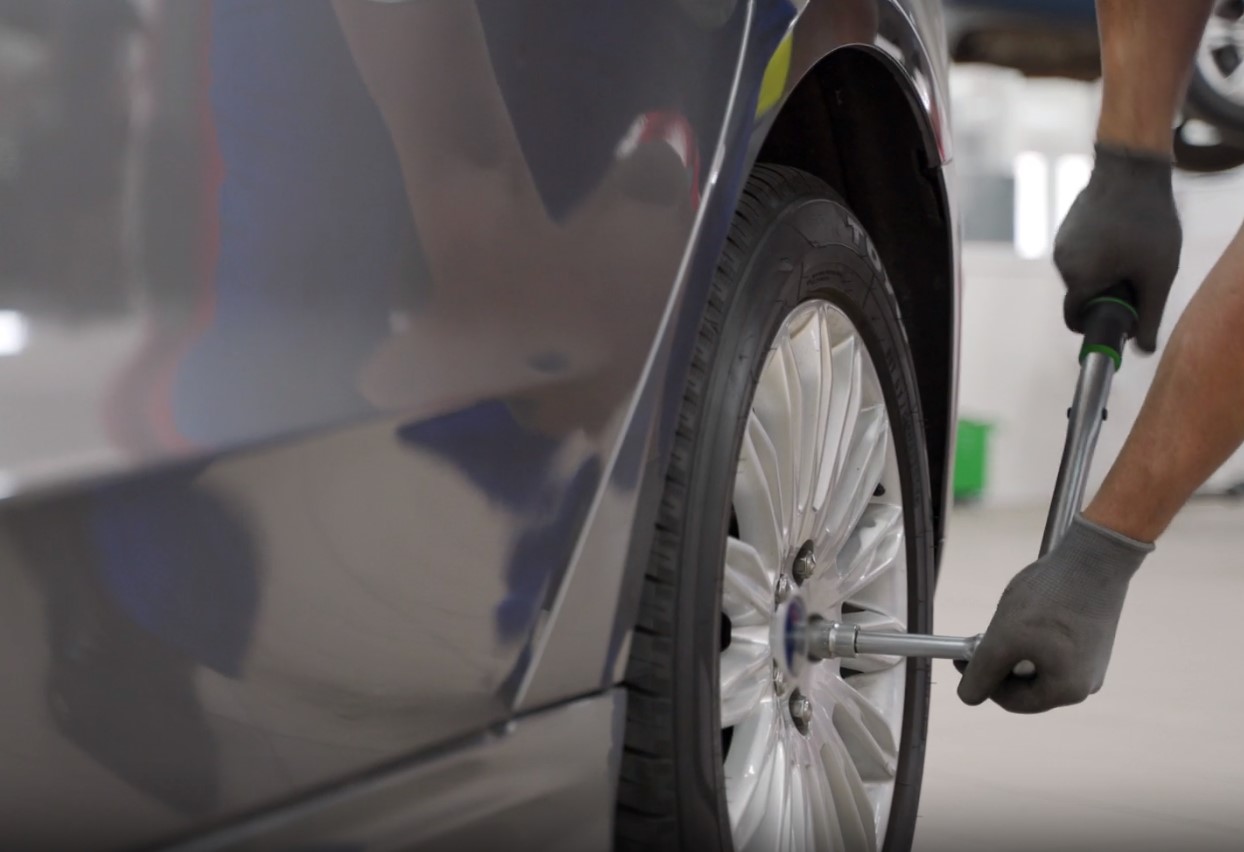
- Lug Wrench: Needed to loosen and tighten the lug nuts that hold the wheel in place.
- Spare Tire: A well-maintained spare tire is crucial; it should be checked regularly for proper inflation and tread wear.
- Flashlight: Useful for visibility if you find yourself changing a tire in the dark.
- Gloves: To keep your hands clean and protect them from hot surfaces and sharp objects.
- Wheel Wedges: To prevent the car from rolling while you are working on it.
- Tire Pressure Gauge: To ensure the spare tire is inflated to the correct pressure before installation.
- Tire Blocks: To secure the opposite tire when lifting the car with a jack.
- Tire Sealant: Can provide a temporary fix for minor punctures in the tire tread.
- Portable Air Compressor: For inflating a spare tire that might be low on air.
- Owner’s Manual: Contains specific instructions for changing a tire on your vehicle model.
When addressing the issue of a flat tire, it’s also crucial to consider the health of your car’s battery. Repeated attempts to ignite the engine without success can be a drain on the battery, so ensuring your battery is in good condition is part of the tire repair process.
Regular Check-Ups Visual Inspections: Just as you would inspect your tire for punctures or wear, take a moment to check your battery for signs of corrosion or other issues that could lead to a loss of charge
Steps To Fix Flat Tire
Step One: Locating the Leak
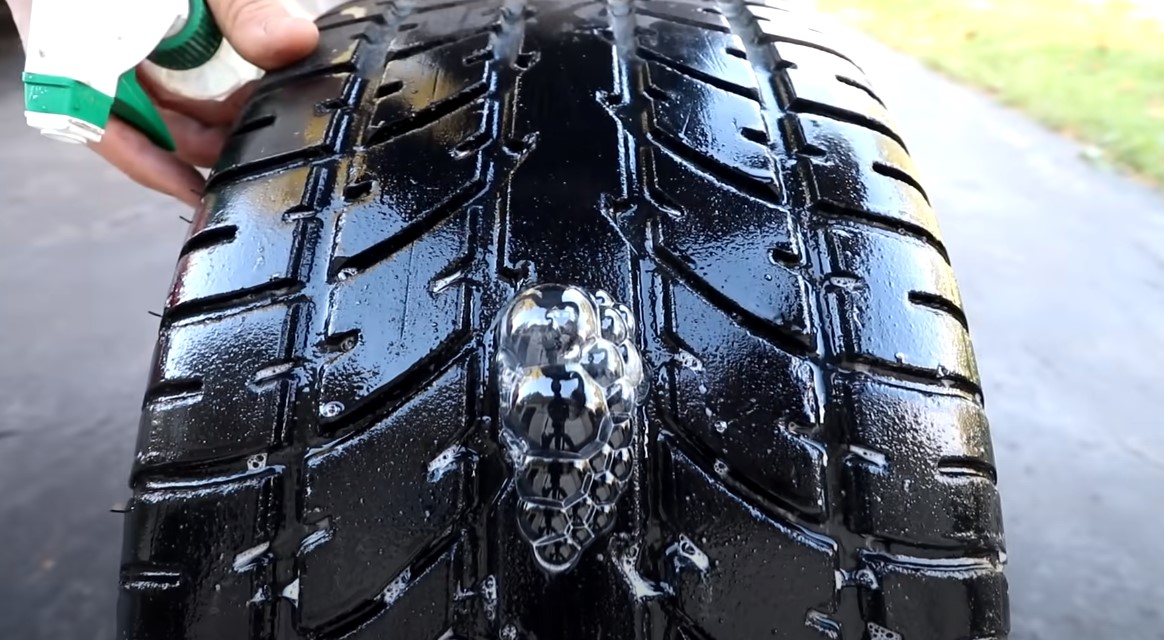
After pulling over safely, exit your vehicle to inspect the tire. Sometimes, the culprit of the leak, like a nail or screw, is immediately visible. If not, you might need to move the vehicle slightly to spot the issue.
If you find a nail or screw lodged in the tread, and it’s firmly in place, leave it there for now. Grab your emergency tire inflator sealant and attach it to the tire valve, following the instructions on the can.
Once you’ve filled the tire, drive for a few miles, then check and adjust the tire pressure. If the tire maintains pressure, you can drive on it temporarily, but remember to address the puncture properly later.
If the puncture isn’t apparent, or if you don’t have a sealant, you’ll need to remove the wheel to proceed.
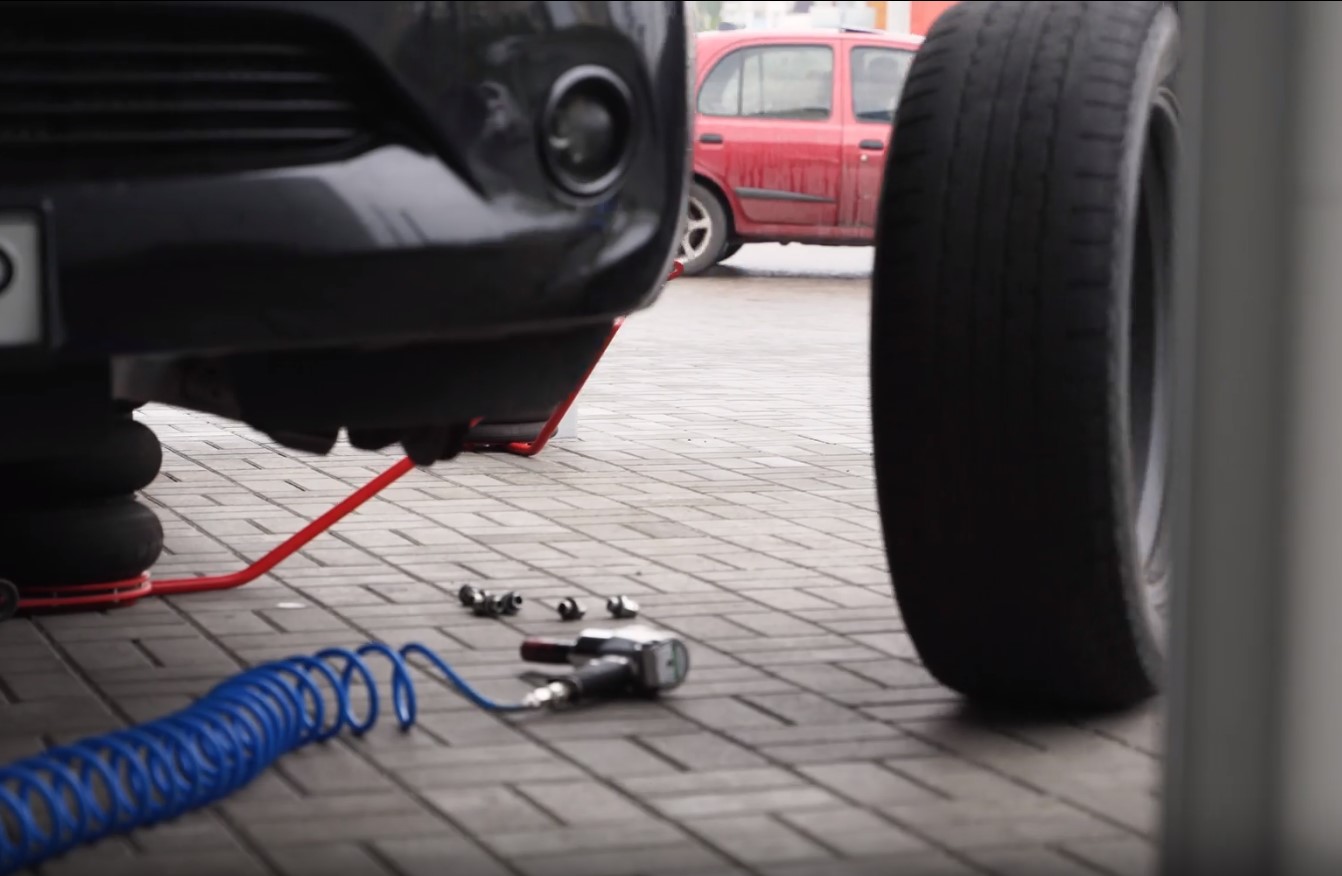
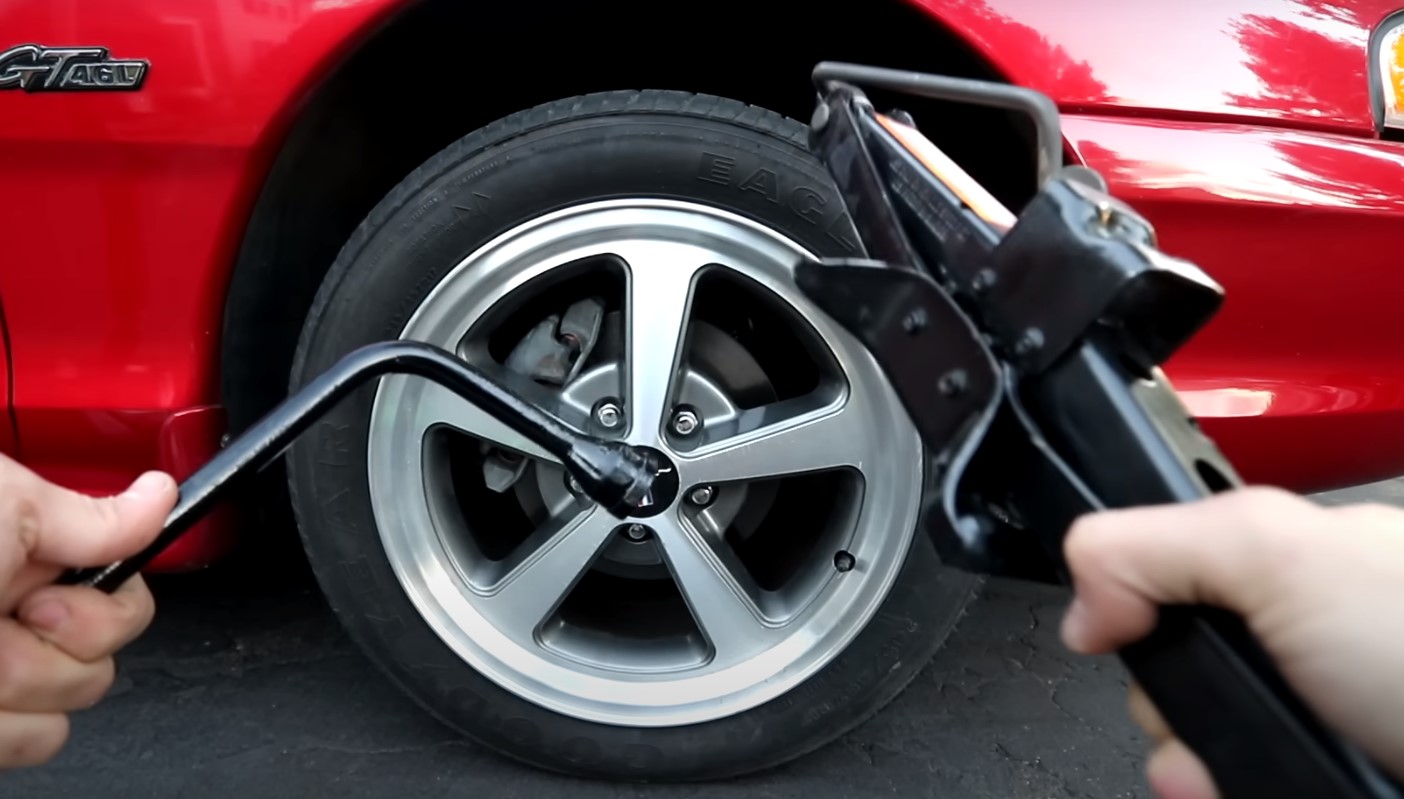
Step Two: Wheel Removal
Start by positioning your spare tire under the vehicle, ahead of the front tire or behind the rear one. This is a precautionary measure in case the jack fails; the vehicle will land on the spare, reducing the risk of injury or further damage.
Before jacking up the car, loosen the lug nuts (turn them counter-clockwise). Consult your owner’s manual for the correct use of your jack.
With the car elevated, remove the lug nuts completely and keep them in a safe place. Carefully pull the wheel towards you to remove it—wheels can be unexpectedly heavy.
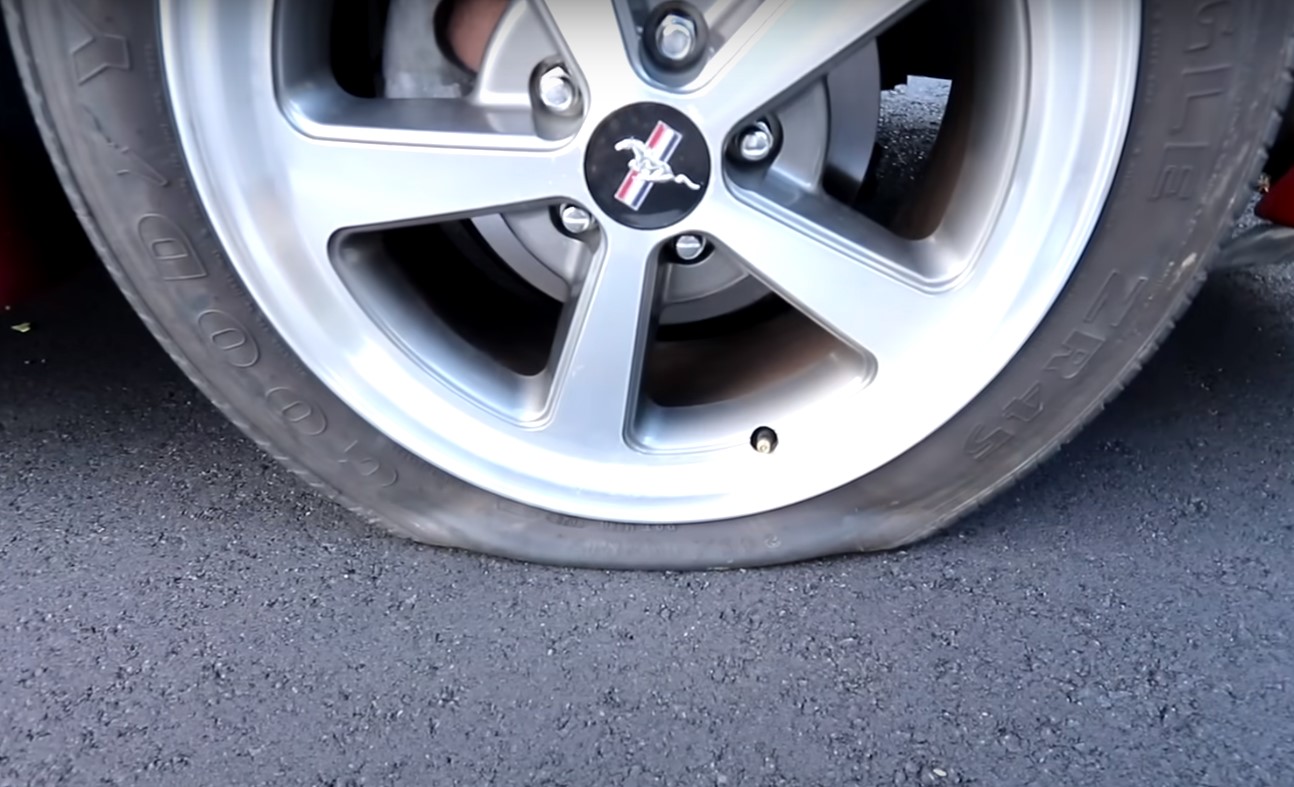
Step Three: Assessing the Damage
If the puncture is on the tire’s tread and not the sidewall, it’s typically repairable. However, if it’s on the sidewall, you’ll need to install your spare tire and get a replacement tire as soon as possible.
If the puncture is small and the tire isn’t deflating, mark the spot for later reference. Roll the tire to a safe working area and inspect for any foreign objects or holes.
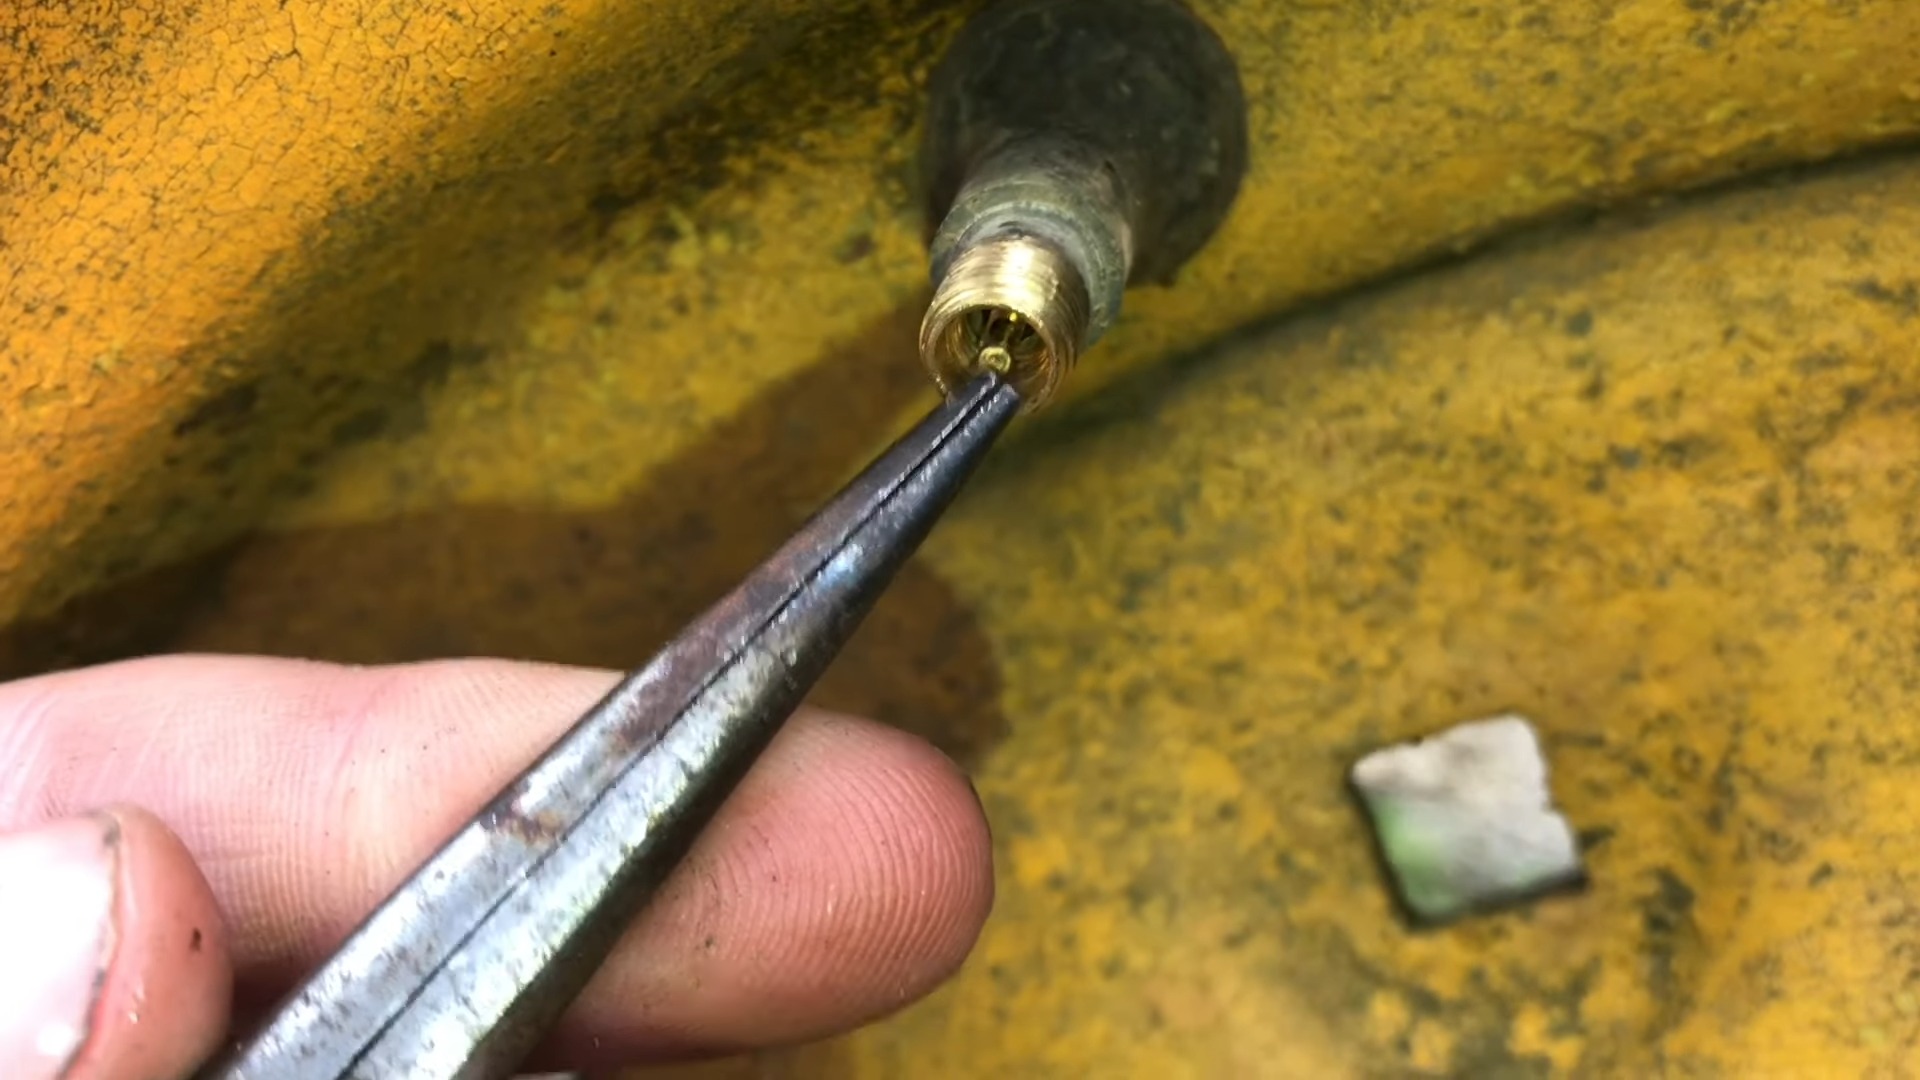
Step Four: Extracting the Object
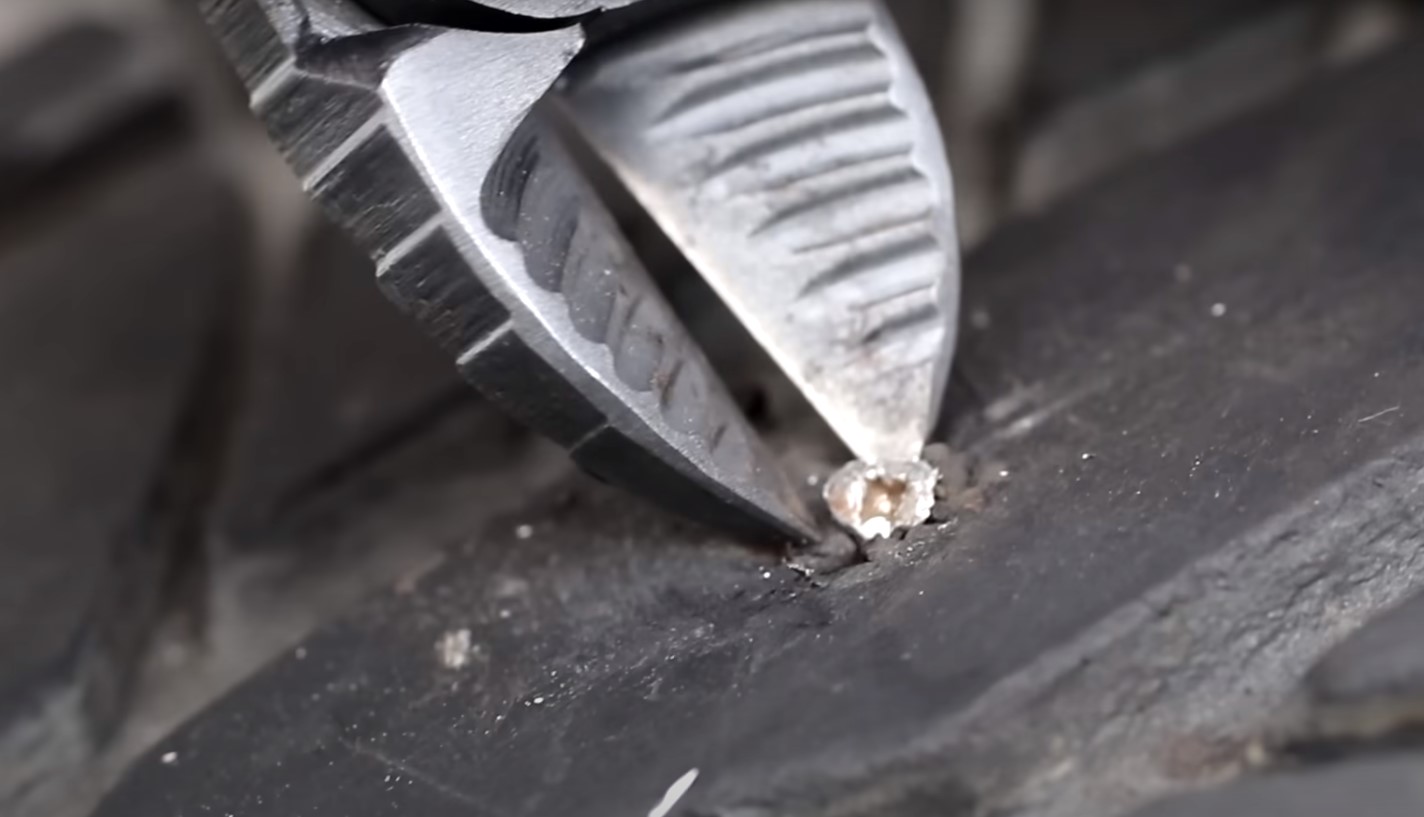
If an object like a screw is causing the leak and the tire can’t hold air, remove it using needle-nose pliers or a similar tool.
Foreign objects can vary, and some may leave residues or fragments. Clear out as much debris as possible from the puncture.
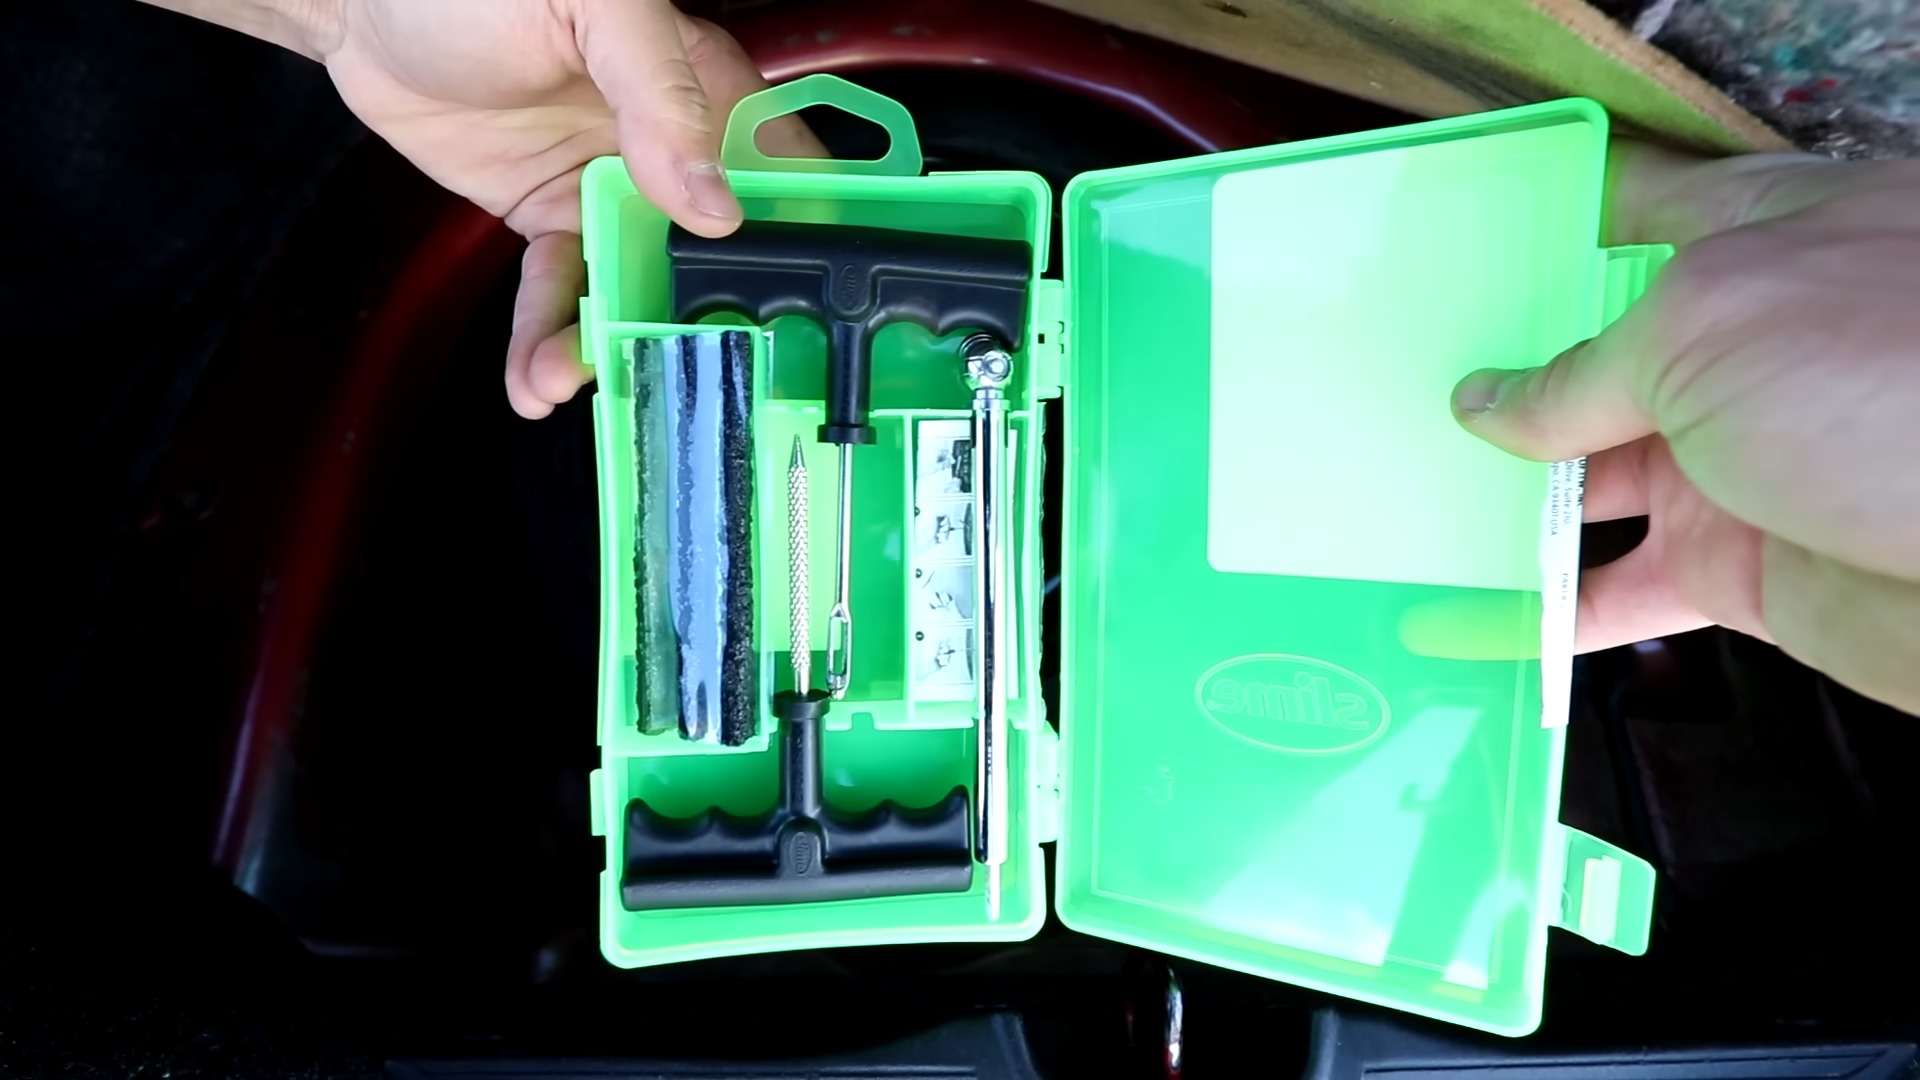
Step Five: Preparing the Puncture for Repair
For small holes, use the reaming tool from your tire repair kit to widen the puncture until it’s about the size of a pencil.
This might be tough initially, especially for tiny holes. Work the reaming tool by twisting and pushing it into the tire until you can insert and remove it with minimal resistance.
Step Seven: Sealing the Puncture
Take a plug from your repair kit, thread it through the insertion tool’s eyelet until it’s centered, then lubricate it as directed by your kit.
Push the tool and plug into the puncture until the plug is seated inside the tire, then quickly pull the tool out, leaving the plug in place.
If the puncture is large, you might need to insert additional plugs. Trim any excess plug material flush with the tire’s surface.
Step Eight: Reattaching the Wheel

Inflate the tire to the correct pressure, found inside the driver’s door jamb. Follow the reverse process of removal to reattach the wheel.
Hand-tighten the lug nuts first, then fully secure them with the wrench after lowering the car. Tighten in a star pattern to ensure even pressure. Double-check the tightness later in the day.
Remember to stow all your tools, including the jack and wrench, back in their designated spots. It’s important to keep track of these essentials for future use.
Steps to Change Flat Tire
Step 1: Removing the Flat Tire
Once you’re prepared, the process of removing the flat tire begins. This involves loosening the lug nuts, lifting the car with a jack, and then removing the lug nuts and tire completely.
It’s a straightforward process, but one that requires careful attention to detail.
Loosening the Lug Nuts
Before lifting the car, loosen the lug nuts with the lug wrench. Turn them counterclockwise just enough to break their resistance.
I learned the hard way that if you lift the car first, you’ll find the wheel spinning freely, making it difficult to loosen the nuts.
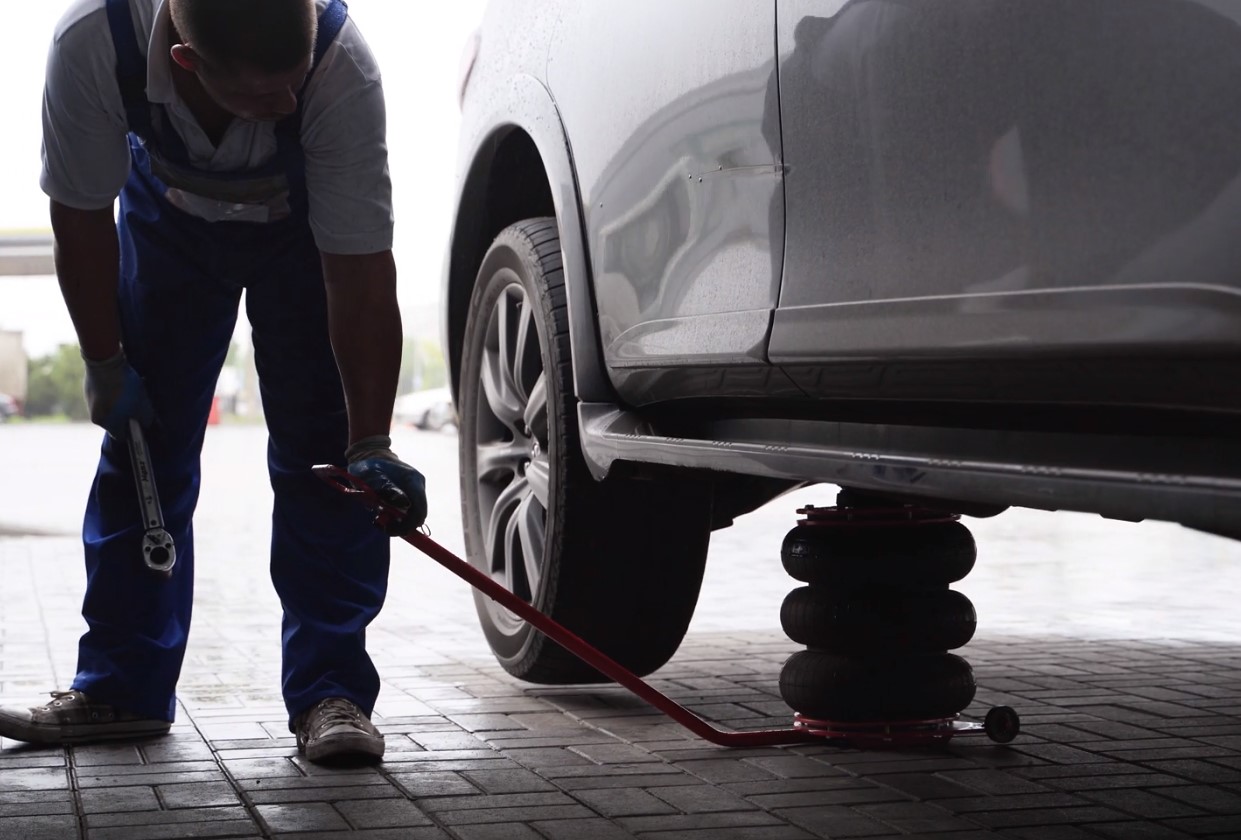
Lifting the Car
Place the jack under the vehicle at the designated lift point. This is usually located near the flat tire and indicated in the owner’s manual.
Pump or crank the jack to lift the car until the flat tire is off the ground. Ensure the car is stable before proceeding to remove the lug nuts completely.
Step 2: Installing the Spare Tire
With the flat tire off, it’s time to put on the spare. This step is critical and must be done with precision to ensure your safety once you’re back on the road. Align the spare tire with the wheel bolts and secure it by hand-tightening the lug nuts.
Mounting the Spare
Lift the spare tire onto the hub, aligning the rim with the lug bolts. Push it all the way in so that it sits flush against the wheel hub. I always start the lug nuts by hand to ensure they’re not cross-threaded, which can cause serious problems down the line.
Securing the Spare Tire
Once the spare is mounted, screw the lug nuts on by hand as tightly as possible. Then, lower the car back to the ground using the jack and finish tightening the nuts with the wrench.
Follow a star pattern when tightening to ensure even pressure. It’s a technique I picked up from a mechanic friend that prevents warping the brake rotor.
Step 3: Post-Installation Checks
After installing the spare tire, there are a few checks you need to perform to ensure everything is secure. This includes checking the lug nuts for tightness and ensuring the spare tire’s pressure is adequate for driving.
Checking Lug Nut Tightness
After the car is lowered and the full weight is on the spare, tighten the lug nuts once more. They should be very tight, but be careful not to overdo it, as that can strip the threads. I always give each nut a final turn with the wrench for peace of mind.
Ensuring Spare Tire Pressure
Before driving away, check the spare tire’s pressure. Many spare tires require a higher inflation pressure than regular tires, and driving on an under-inflated spare can be dangerous. I keep a tire pressure gauge in my glove compartment for this purpose.
FAQ
How often should I check my spare tire’s air pressure?
It’s best to check your spare tire’s pressure every time you conduct your regular vehicle maintenance, which is typically once a month.
Can I drive on a spare tire as I would on a regular tire?
No, spare tires are meant for temporary use and usually have a speed limit of 50 mph. They are not designed for long-term or high-speed driving.
How do I know if my tire can be repaired after a puncture?
If the puncture is less than 1/4 inch in diameter and located in the tread area, it can often be repaired. Sidewall punctures usually require tire replacement.
Is it safe to repair a tire with a sealant?
Tire sealants are a temporary fix. They can help you get to a service station, but you should have the tire inspected and repaired by a professional as soon as possible.
How long can I drive with a plugged tire?
If done correctly, a plug can last up to 7 to 10 years. However, it’s always best to consult with a tire professional to ensure the longevity and safety of the repair.
What should I do if my tire keeps losing air after being repaired?
If a tire continues to lose air after a repair, it may have additional unseen damage or a poor seal. Have it checked by a professional immediately.
Can I replace just one tire instead of all four?
It’s generally recommended to replace tires in pairs (both front or both rear) to maintain even handling and traction. However, if only one tire is damaged, replacing just that one may be acceptable, depending on the wear of the other tires.
Conclusion
Fixing a flat tire is a valuable skill that every driver should possess. By following the steps outlined above, you can handle this common issue with confidence. Remember, regular maintenance and preparedness are your best tools in preventing and dealing with flat tires. Drive safely, and always be ready for the unexpected.