
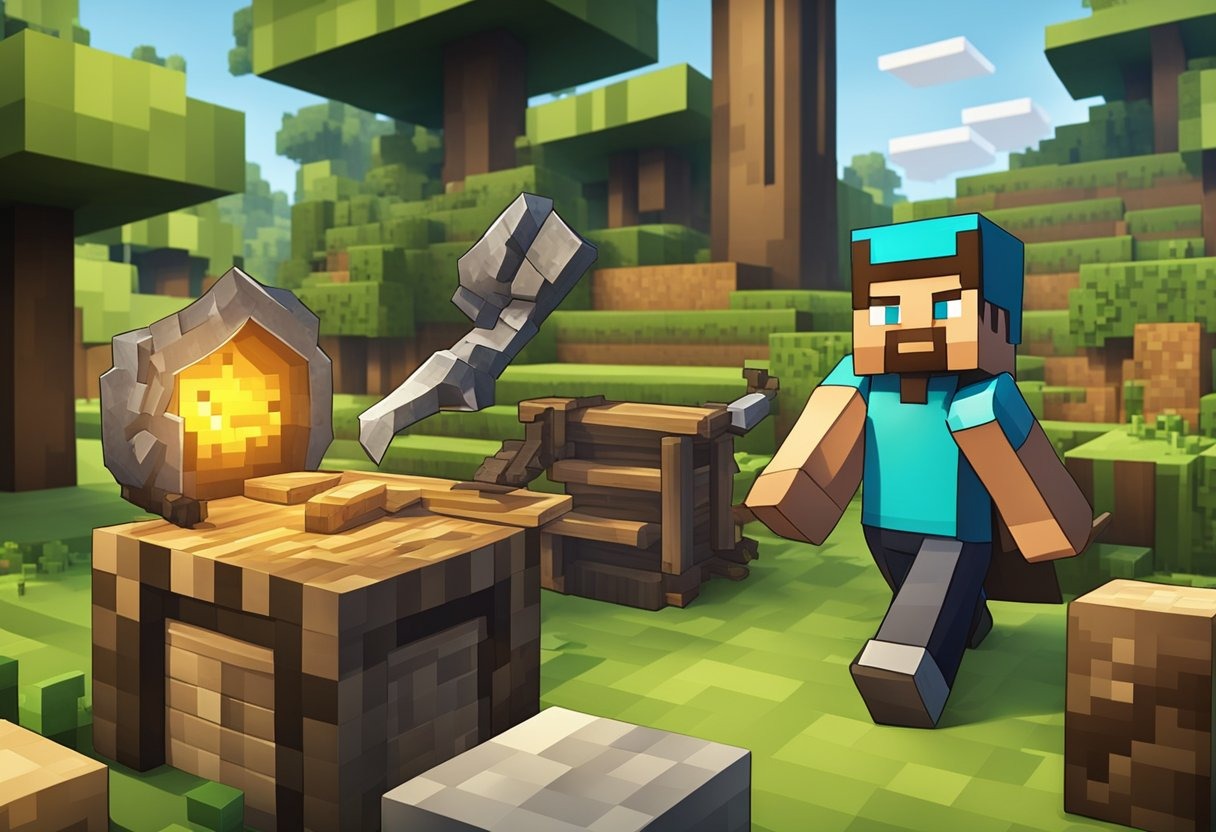
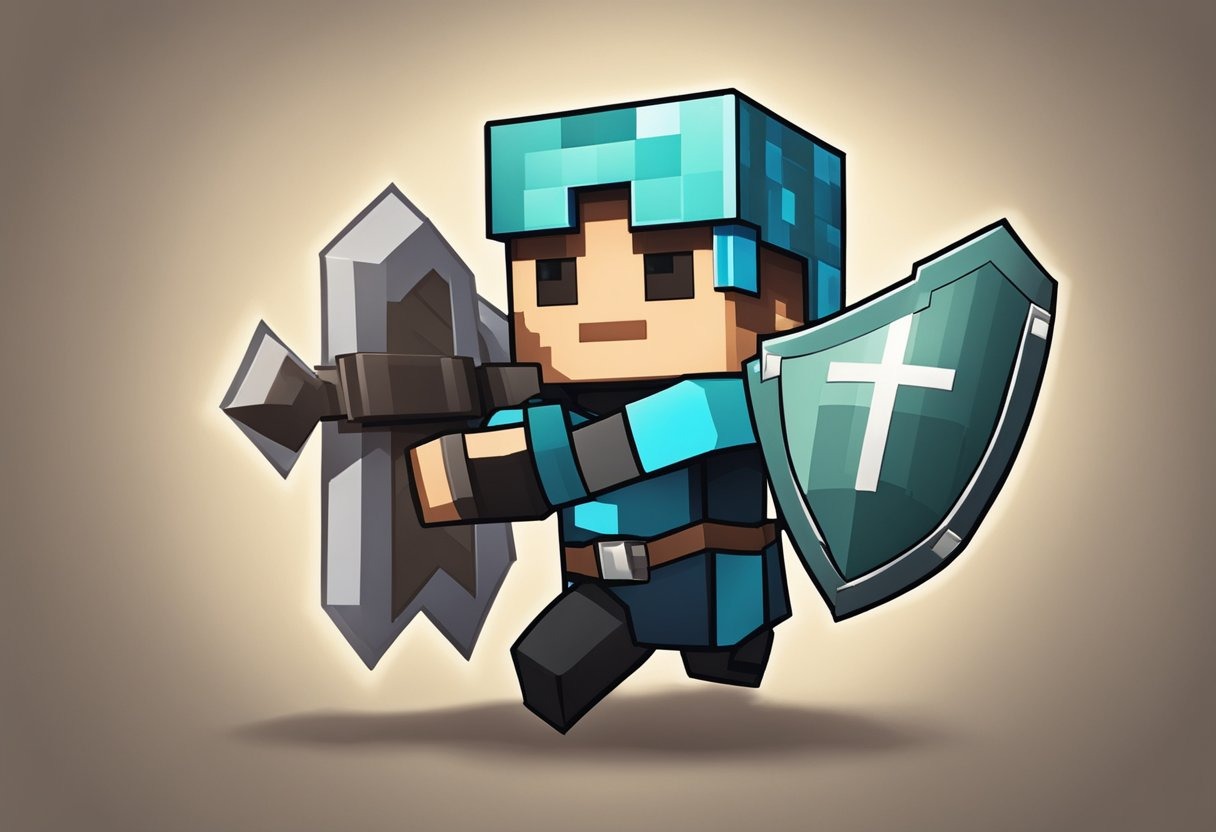
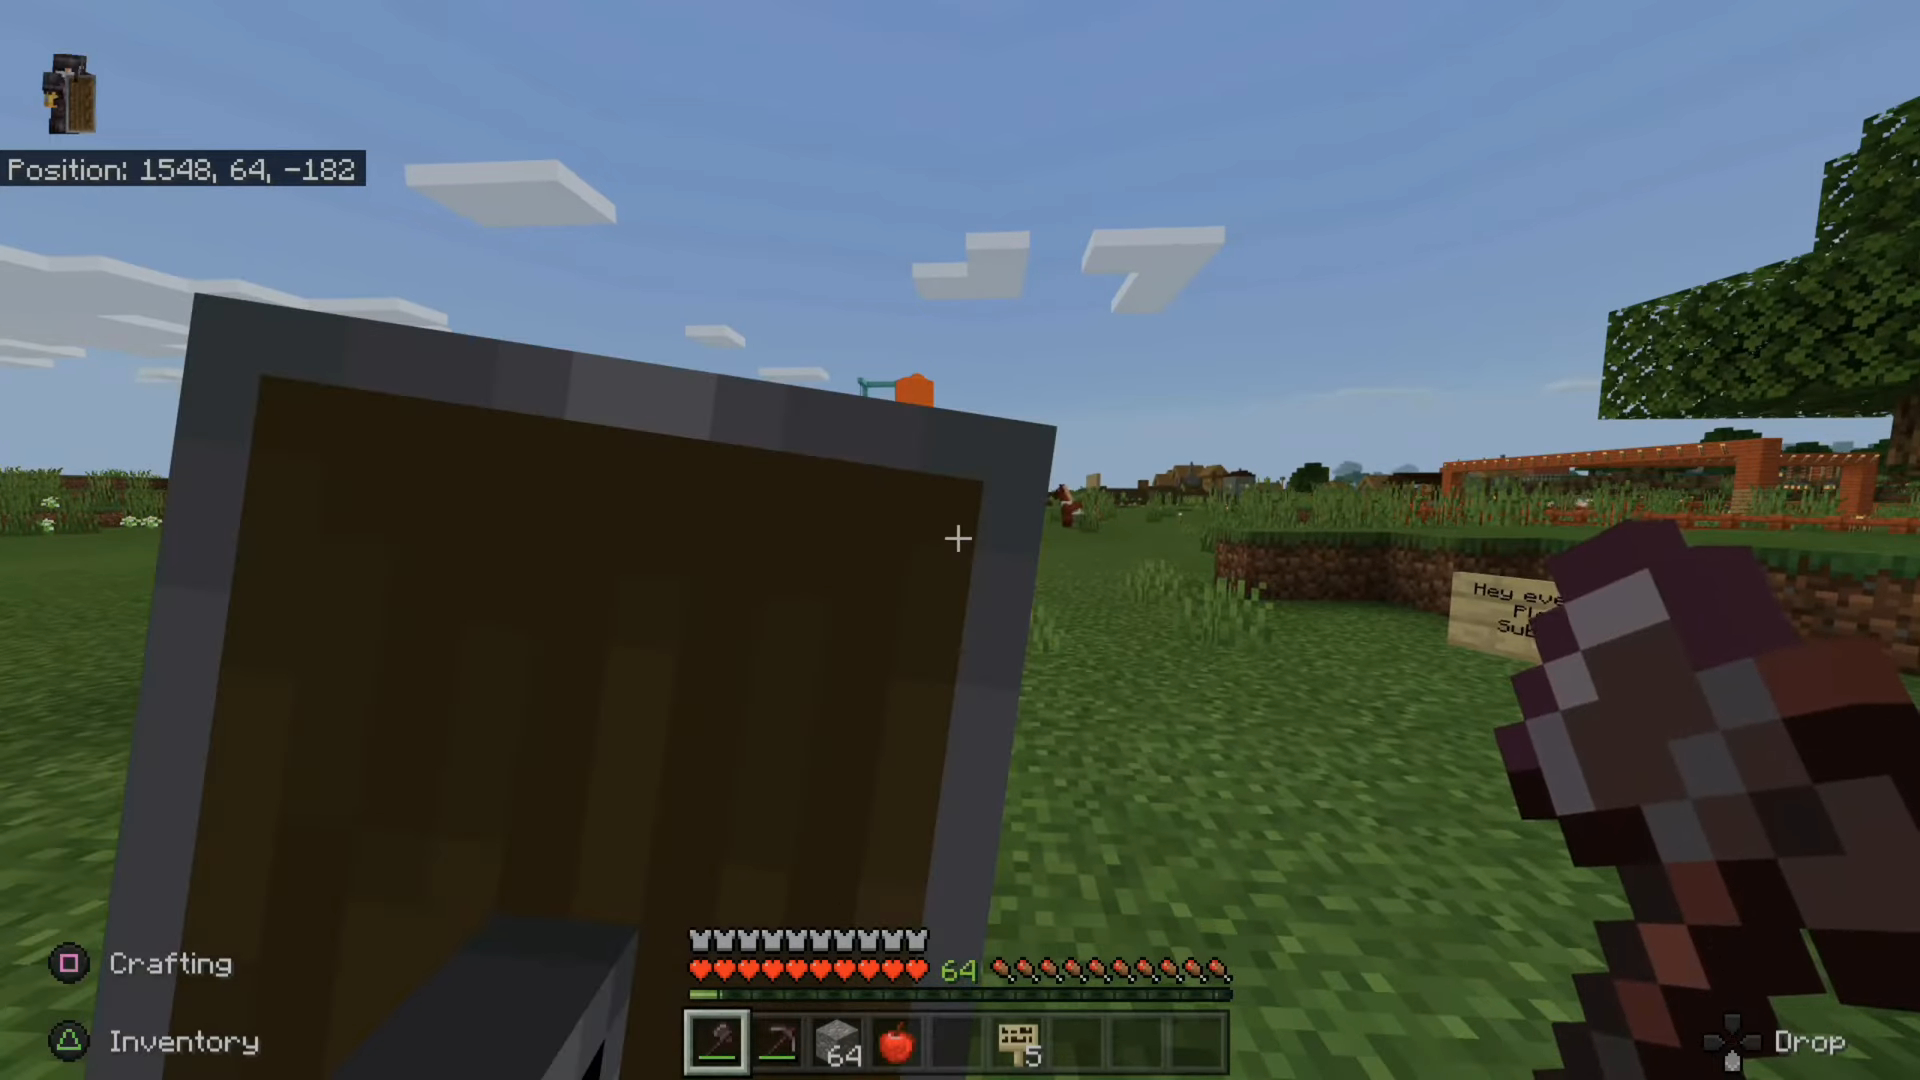
In the world of Minecraft, shields play a crucial role in a player’s survival, offering protection from hostile mobs and enemy attacks. Crafting a shield is a simple yet essential skill for navigating the game’s various challenges. With the ability to block incoming attacks and reduce damage, a well-timed use of a shield can mean the difference between triumph and defeat. As players progress through their Minecraft adventures, understanding the ins and outs of shield use and creation becomes increasingly important.
As one of the most addictive games for console and PC, Minecraft is all about crafting, customizing and surviving with the right equipment.
Customization is another key aspect of shields in Minecraft, allowing players to not only protect themselves but also do it with style. By applying different patterns and designs, players can create a shield that not only serves a practical purpose but also reflects their personal aesthetic. In combat, the use of a shield is straightforward, but mastering the timing and strategic aspects can greatly enhance a player’s effectiveness in battle. Regular maintenance and knowledge of advanced techniques ensure that the shield remains a reliable tool throughout a player’s journey.
Key Takeaways
- Shields are vital for protection in Minecraft and can be crafted easily.
- Customization options allow for personalized shield designs.
- Effective use and maintenance of shields enhance combat performance.
Understanding Minecraft Shields
In Minecraft, shields are crucial for player defense against various attacks. They provide protection and can be personalized with patterns. Understanding their components, mechanics, and how they vary across different editions of the game is essential for effective use.
Components of a Shield
Crafting Materials:
- Iron Ingot: The core material required for the shield’s construction; it is placed at the top center of the crafting grid.
- Planks: Six wood planks, which can be crafted from logs, are also needed. These fill the remaining top slots and the entire middle row.
Types of Editions
Minecraft Versions:
- Java Edition (PC/Mac)
- Bedrock Edition (includes Windows 10 Edition, Xbox One, PS4, Nintendo Switch)
- Pocket Edition (obsolete, merged into Bedrock)
- Education Edition
Shield Mechanics
Basics:
- Durability: A shield has a specific amount of durability which decreases with use.
- Usability: Players can equip shields in their off-hand or main hand slots for defensive actions.
Enchantments:
- Unbreaking: Increases durability.
- Mending: Repairs the shield with experience orbs.
Shield and Armor
- Shields are part of a player’s armor set and are used to block incoming damage from attacks.
- They are held on the screen, and a right-click or equivalent action on other devices raises the shield to protect the player.
Edition-Specific Features
- Depending on the edition, shields can block damage from sources like fire, water, or decay.
- The Java Edition often receives updates first, which can include new features for shields before they appear in other editions.
The Crafting System
Crafting a Shield:
- Open crafting table menu.
- Place iron ingot and wood planks into the crafting grid following the crafting recipe.
- Drag the shield into your inventory to equip.
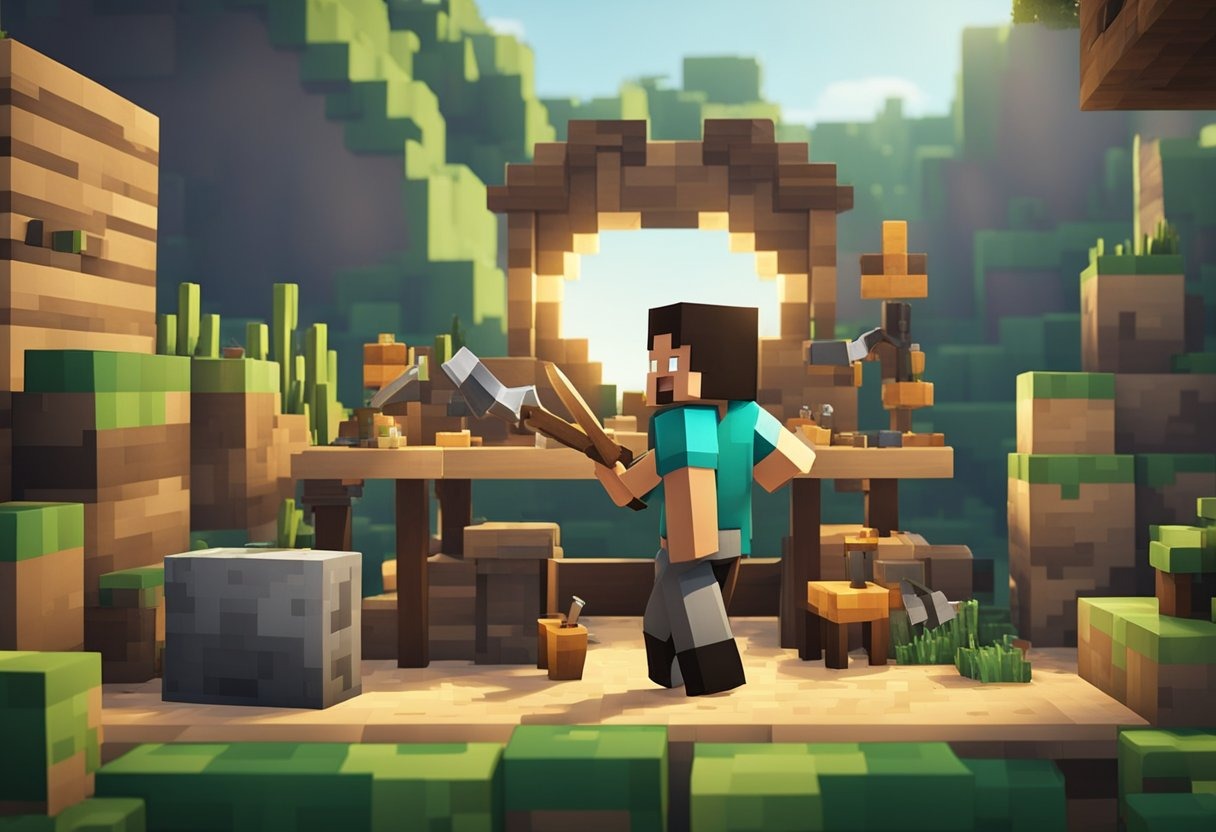
Creating Your Shield
In Minecraft, creating a shield requires precision in gathering materials and using the crafting table. Follow these steps to craft a shield that will enhance your defense against various threats.
Gathering Materials
To begin crafting a shield in Minecraft, one must first gather the necessary materials. This involves collecting:
- Wood: Obtain wood by chopping down trees. Each log can then be converted into four wood planks.
- Iron Ingot: Typically found by mining iron ore and smelting it in a furnace.
It’s vital to secure an ample amount of wood to create the planks and at least one iron ingot.
Crafting Process
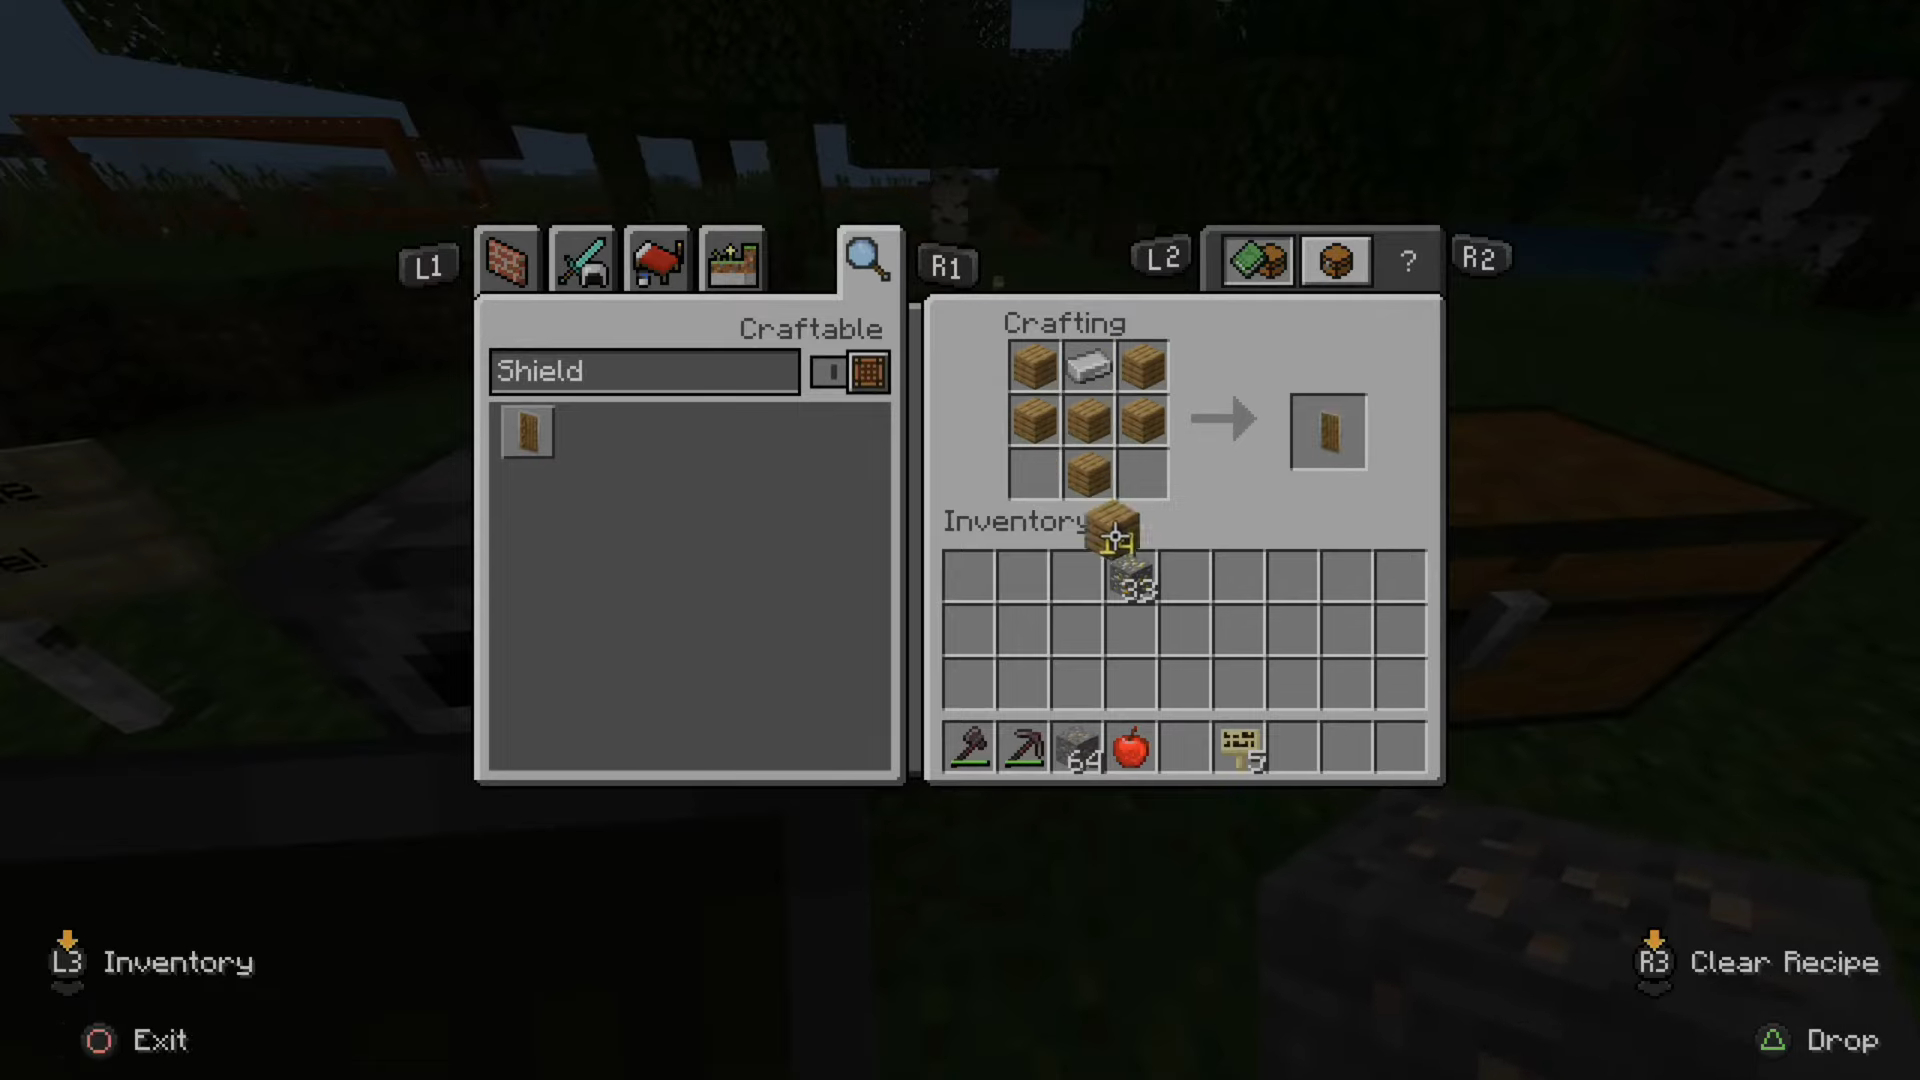
Once the materials are collected, the crafting process can start. Open the crafting menu, and you’ll see a 3×3 crafting grid where items are placed to create new ones.
- Arrange the wood planks and iron ingot in a specific pattern.
- Place the iron ingot in the center of the top row.
- Position the wood planks in all three slots of the middle row and in the center of the bottom row.
This arrangement forms a Y-shaped pattern crucial for the shield’s design.
Finalizing the Shield
After placing the materials in the correct configuration, a shield icon will appear to the right of the crafting grid. This confirms that the crafting recipe is correct.
- Drag the shield from the crafting grid into your inventory, completing the crafting process.
- The shield is now ready to be equipped for defensive purposes during gameplay.
Using the Crafting Table
- Approach a crafting table and right-click (PC/Mac), tap (Pocket Edition), or press the left trigger button (console) to activate it.
- The crafting menu appears with a more extensive 3×3 crafting grid, which is necessary for creating a shield in Minecraft.
Remember, shields cannot be crafted from the inventory crafting grid, as it only provides a 2×2 grid, insufficient for the shield crafting recipe.
By assembling the shield following these steps, you will have successfully crafted an essential tool for your Minecraft adventures.
Customizing Your Shield
Customizing a shield in Minecraft enhances both its aesthetic appeal and functionality. Players can apply unique patterns, add enchantments for increased durability, and use specific items to alter their shield’s design.
Applying Patterns
In Minecraft, players can add various patterns to their shields using a loom. To do this, one combines a banner with a dye and optionally, a banner pattern item. These patterns can range from simple stripes to intricate symbols, giving players the ability to create a shield that stands out.
Adding Enchantments
Enchantments like Unbreaking and Mending can be applied to shields to improve their durability. Players use anvils to combine the shield with enchanted books containing the desired enchantments. Additionally, the Curse of Vanishing can be applied to make the shield disappear upon the player’s death.
Shield Decoration
Decorating a shield can involve not just patterns and colors, but also naming. Players can rename their shields on an anvil, giving it a personalized touch while the name appears when the shield is equipped.
Using Banners
Creating a custom banner in Minecraft is the first step in customizing a shield. Banners are crafted from wool and a stick, and they can subsequently be enhanced with patterns using a loom.
Enhancing Durability
To enhance a shield’s durability, players can repair it by combining two damaged shields on a crafting table or an anvil. This process not only combines their durabilities but can slightly exceed it, giving the shield a longer life.
Modifying Colors
By utilizing dyes available in the game, players can modify the colors of their shield. They can choose from a spectrum of hues to create the base color of the banner, which is then used to customize their shield.
Special Crafting Items
Iron ingots and planks are the foundational materials for crafting a basic shield. However, specific items like banner patterns, dyes, and wool become necessary for adding detailed customization, allowing players to edit their shields extensively.
Utilizing the Shield in Combat
Minecraft players can significantly increase their survival chances by mastering shield usage in combat. The shield is a powerful tool to block a variety of incoming attacks, from melee swings to projectiles like arrows and tridents.
Basic Defense Tactics
Shields in Minecraft are used to offer a defensive advantage, allowing the player to withstand many forms of damage from hostile mobs or other players. To effectively use a shield, a player needs to equip it and right-click, which raises the shield to block incoming attacks.
This action reduces the damage received and can be a pivotal move in combat scenarios, especially when facing skeletons and their arrows or dealing with melee encounters with zombies.
Shield vs. Various Attacks
The shield is capable of mitigating damage from a vast array of attacks. Arrows, one of the most common threats, can be completely stopped by a raised shield. Melee assaults by zombies or spiders are also thwarted, as the shield absorbs the impact.
It’s important to note that while tridents and snowballs can be blocked by shields, certain attacks, like explosions from TNT not ignited by the player or by a redstone mechanism, require precise timing or positioning to mitigate damage. Shields are also effective against guardian and elder guardian laser attacks, although at reduced efficiency.
Shield in Offensive Strategies
While primarily defensive, shields can also play a role in offensive strategies. Players can bait an attack from an opponent, quickly block with the shield, and then counterattack while the adversary is recovering from their swing. This tactic works well against mobs and players alike, turning a defensive posture into an opportunity to strike.
Enchantments for Combat
To enhance a shield’s effectiveness in combat, there are specific Minecraft enchantments players can apply. “Unbreaking” increases a shield’s durability, while “Mending” allows for the shield’s repair using experience orbs. Applying these enchantments helps users ensure their shield remains a reliable part of their combat repertoire over extended periods of use.
Shield Maintenance and Management
Maintaining a shield in Minecraft ensures it remains a reliable form of defense against incoming attacks. Proper management of a shield’s durability, enchantments, and place in the inventory is crucial for any adventurer.
Shield Repair and Upkeep
To keep a Minecraft shield in good condition, players must repair it once its durability starts to decline. Repairing can be done on an anvil, combining two shields or pairing a shield with planks, which also replenishes its durability. Notably, anvils allow for the preservation of enchantments during the repair process. If a shield has the Mending enchantment, it can also be repaired by gaining experience points which convert into durability.
Inventory Management
In terms of inventory management, a shield can be equipped in the player’s off-hand slot or stored in the inventory when not in use. Keeping a shield equipped allows for quick deployment, especially when roaming through areas where sudden attacks are frequent. However, excessive air exposure does not cause decay in Minecraft, so an unutilized shield will not degrade solely from sitting in the inventory.
Shield Lifespan
The lifespan of a shield is primarily dictated by its durability. A shield without enchantments can endure a finite amount of damage before breaking. Enchantments like Unbreaking increase a shield’s longevity by granting it a chance to avoid durability reduction when taking damage. Moreover, the Mending enchantment allows for durability restoration using experience orbs, directly impacting a shield’s lifespan by repairing it during use.
Managing Enchantments
Enchantments on a shield, such as Unbreaking and Mending, greatly augment its endurance. Enchantments can be applied using an anvil and enchanted books. Caution should be taken with the Curse of Vanishing enchantment; while it does not affect durability, it causes the shield to disappear upon the player’s death. Players should deliberate carefully when engaging with enchantments to ensure they meet their defensive needs.
Advanced Shield Techniques

In Minecraft, mastering advanced shield techniques can significantly enhance a player’s defensive capabilities. These specialized strategies range from manipulating interactive blocks to utilizing specific tactics against various mobs.
Interactive Blocks and Shields
Using shields in conjunction with interactive blocks can lead to strategic advantages. For instance, players can place furnaces or looms immediately after blocking to create temporary barriers. This not only provides cover but allows for quick access to block-related tasks during combat.
Survival Mode Strategies
In Survival Mode, the shield becomes an essential tool for protection. Crafting a shield requires a loom for customization or an anvil for repairing. Villagers may offer shields for trade, which can save resources. Always carry a shield when exploring, as it can be the difference between life and death when dealing with unexpected TNT or surprise mob encounters.
Special Movement Tactics
Effective shield usage involves more than just blocking; it’s about movement. Implementing knockback resistance when a shield is raised or using the “drag” of the shield to maneuver through fields of fire are examples of advanced movement tactics. Players can combine the shield’s defensive properties with potions that enhance luck or provide other status effects for greater control.
Combat Against Specific Mobs
When facing skeletons, a shield is invaluable in deflecting arrows. Against melee mobs, time your blocks to coincide with their attacks. Shields can also effectively block tridents and crossbow projectiles. Always anticipate the knockback that comes with blocking heavier attacks and use it to your advantage.
Redstone and Shield Interactions
Shields and Redstone can interact in creative ways. Players can design traps where shields are used to block arrows from automated dispensers or use them to safely deactivate TNT mechanisms. Understanding the timing of Redstone circuits can inform when to raise and lower a shield in complex contraptions.
Troubleshooting Common Shield Issues

When crafting and using shields in Minecraft, players might encounter issues such as unexpected damage, platform-specific glitches, or bugs that affect gameplay. Understanding how to navigate these problems is essential for maintaining shield durability and effectiveness during combat.
Lost or Damaged Shields
In Minecraft, shields can take damage and eventually break after repeatedly blocking attacks. Durability is a measure of a shield’s lifespan and can be checked by looking at its damage bar. If a shield is lost or excessively damaged, players can repair it using an anvil by combining it with planks or another shield. Shields are also subject to decay just like other tools in the game.
Shield Use on Different Platforms
Minecraft is available on various platforms, including the Java Edition, Bedrock Edition, Pocket Edition, Xbox One, PS4, Nintendo Switch, Education Edition, and Windows 10 Edition. While the method of crafting a shield remains mostly the same across platforms, the controls for using a shield can differ. For instance, on consoles like Xbox One, one would use the LT or L2 button for shield use, while on PC, right-clicking would raise the shield for defense.
Shield Glitches and Bugs
Occasionally, players might encounter glitches and bugs that affect shield performance. Common issues include the shield not appearing in hand or not effectively blocking incoming attacks. These problems can sometimes be resolved by updating to the latest version of Minecraft, as bugs are regularly addressed in updates. If glitches persist, checking Minecraft forums and communities for workarounds or reporting the bug to the Minecraft team can be helpful steps.
Integrating Shields with Other Gameplay Aspects
Minecraft shields are more than just tools for combat; they can be seamlessly integrated into various gameplay mechanics, enhancing both efficiency and aesthetic experience.
Shields and Crafting Stations
Players can use a crafting table to combine a shield with a banner, which they can create using a loom. With a variety of dyes, players can craft a unique banner and subsequently apply it to their shield, thereby combining protection with personalization. This customization relies on having access to materials like wool, often acquired from sheep, and wooden planks.
Combining Shields with Equipment
Shields can be equipped in the off-hand slot, allowing players to use their main hand for weapons or tools. They can also be enchanted at an enchanting table to provide additional benefits such as increased durability or knockback resistance, thus complementing a player’s armor set. Enchants like Unbreaking or Mending make shields last longer during extensive gameplay.
Shield and Exploration
During exploration, a shield is invaluable as it provides protection against unforeseen dangers such as skeleton arrows or creeper explosions. It can conserve potions by mitigating damage, thus managing resources effectively. While exploring, players may find rare resources like emeralds that can be traded with villagers for enhanced equipment, further improving a shield’s usefulness.
Creative Mode Possibilities
In creative mode, players have unlimited resources and can experiment with shield designs without the need to gather materials. They can access any dye, banner, and shield, enabling them to test different combinations that could be used in standard gameplay.
Shield and Resource Management
Crafting a shield requires iron ore and wooden planks, which obliges players to effectively manage their resources. Shields can suffer damage and eventually break, so players might use furnaces to smelt more iron ore or to create charcoal for torches, ensuring sustained protection and material availability.
Interacting with Other Players
Shields can be significant in multiplayer settings, as they not only serve a defensive role but also convey messages through their designs. Players can use shields to identify team members or signal their allegiances during PvP (Player versus Player) encounters or group explorations, enhancing the social aspect of gameplay.
Frequently Asked Questions
Crafting shields in Minecraft is a straightforward process, but players often have questions about customization and version differences. This section aims to address those queries with concise, accurate information.
What is the crafting recipe for a basic shield in Minecraft?
To create a basic shield, players need six Wooden Planks and one Iron Ingot. The Iron Ingot is placed in the top-middle slot of the crafting grid, flanked by Wooden Planks in the rest and bottom-middle slots.
Can you customize shields with banners in Minecraft, and how?
Yes, shields can be customized with banners. Place the shield and a banner of any design in the crafting grid. The pattern on the banner will be transferred to the shield’s front face.
Is it possible to create a shield in earlier versions of Minecraft, and what differs?
Shields were introduced in the Combat Update, version 1.9. Before that, there was no crafting recipe for shields. The combat mechanics in earlier versions don’t include shields.
What steps are involved in designing a shield with a specific pattern in Minecraft?
Design a banner with the desired pattern using dyes and a loom. Then, combine the banner with your shield in the crafting grid to transfer the pattern to the shield.
How can players on consoles like Xbox 360 and PS3 craft shields in Minecraft?
As of the console editions that correspond to the PC version’s Combat Update, players on Xbox 360 and PS3 can also craft shields using the same recipe: one Iron Ingot and six Wooden Planks.
What are the ingredients required for a shield pad in Minecraft?
The term “shield pad” is not commonly used in Minecraft. However, to craft a basic shield, players simply require six Wooden Planks and one Iron Ingot. There’s no separate item called a shield pad within the game.